

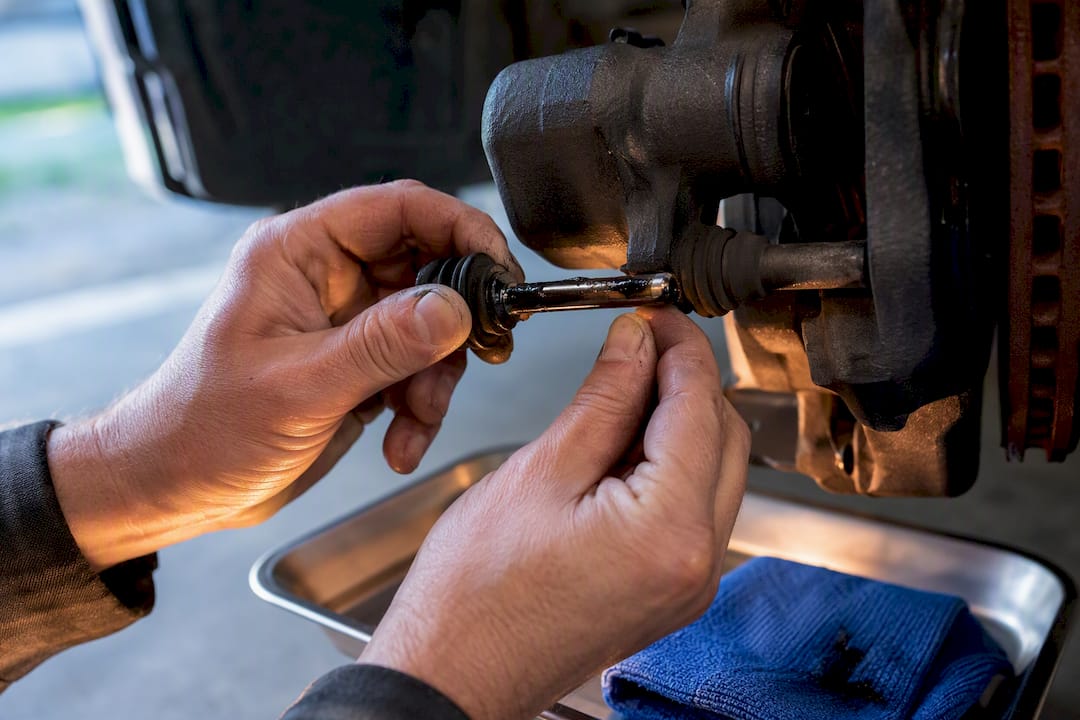
Clean and inspect your caliper slide pins at every pad change, then coat the pin shank with a thin layer of 100% silicone brake paste. Skip anti-seize and petroleum grease entirely. Gather your tools before you start, and stop the job if a boot is torn or a pin shows deep pitting. That pin needs replacement, not lubricant.
TL;DR:
- Regularly inspect and lubricate caliper slide pins at every brake pad change to prevent sticking and uneven pad wear.
- Use only 100% silicone brake paste or a manufacturer-specified high-temp synthetic ceramic paste on the pin shank, avoiding anti-seize and petroleum grease.
- Check for pitting, scoring, torn boots, or swelling during inspections, and replace pins or boots when damage is present.
- Monitoring uneven pad wear and rotor temperature gaps can help detect caliper issues before physical damage or brake failure.
- Proper tool preparation and following specific cleaning and assembly procedures can save time and extend caliper lifespan, especially in corrosive climates.
Table of Contents
- Why Caliper Slide Pin Maintenance Matters
- When to Service Slide Pins
- Tools and Materials to Prepare Before You Start
- How to Clean, Inspect, and Lubricate Caliper Slide Pins
- Freeing Seized Pins and Knowing When to Replace Them
- Choosing the Right Lubricant and Avoiding the Wrong One
- Quick Checks You Can Run Without Pulling the Caliper
- Aaafrictions Technical Notes on Corrosion and Climate
- A Mechanic’s Take on the 15-Minute Fix
- Ready to Replace Worn Brake Components?
- Sources
- FAQ
Why Caliper Slide Pin Maintenance Matters
A sticking slide pin does not announce itself with a warning light. It shows up as a caliper that will not release fully, a pad that wears at an angle, or a car that pulls gently to one side under braking. Left alone, that dragging pad overheats the rotor, eats fuel economy, and can shorten stopping distance right when you need it most.
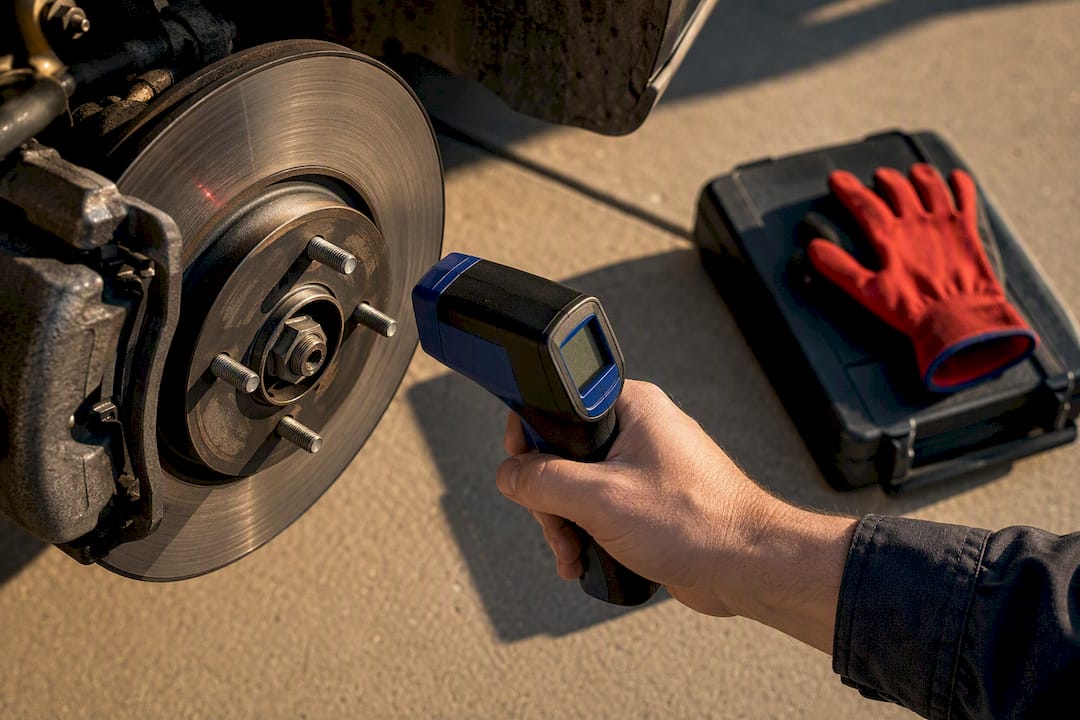
Mechanics catch this early with an infrared thermometer, comparing surface temperature across an axle after a short drive. A significant temperature difference between two wheels often points straight to a seized caliper or a sticky pin, well before the pad wear becomes visible to the eye. If you notice pulling, vibration, or a burning smell after a drive, treat it as a signal to check the brakes before your next long trip rather than after it.
When to Service Slide Pins
Slide pins do not fail on a fixed schedule, but a few habits keep them from surprising you.
- Service them at every brake pad replacement, since the caliper is already off and the bores are exposed.
- Inspect at least once a year even if the pads have plenty of life left, and more often in salted-winter, coastal, or high-humidity climates.
- Treat uneven pad wear, a brake pull, a torn rubber boot, or one wheel running noticeably hotter than the others as immediate triggers for inspection.
Mileage intervals are useful as a rough guide, but a visual check of the boot and pin shank tells you more than any odometer number ever will.
Tools and Materials to Prepare Before You Start
A caliper slide pin job goes faster when everything is on the bench before the wheel comes off.
- Aerosol brake cleaner, a nylon or wire bore brush, clean shop rags, and nitrile gloves.
- A basic socket set, a torque wrench, and penetrating oil for pins that resist movement.
- Replacement boots or pin sleeves on hand in case the old ones are torn or swollen.
- 100% silicone brake paste or a manufacturer-specified high-temp synthetic ceramic paste, never anti-seize or chassis grease.
Budget roughly 30 to 45 minutes per axle once you have done it a time or two, and expect the paste itself to run only a few dollars a tube.
How to Clean, Inspect, and Lubricate Caliper Slide Pins
Working through the pins in order keeps you from missing a step, and each stage has its own small trap to avoid.
- Set up safely. Chock the wheels you are leaving on the ground, jack the car, and support it on stands rated for the weight. Never work under a vehicle held up by a jack alone.
- Remove the wheel and caliper. Take off the guide bolts or pins holding the caliper to the bracket, then lift the caliper off and support it with a hook or bungee so it does not hang by the brake hose.
- Pull the pads and expose the bores. With the caliper off, slide the pads out and get a clear look at the pin bores in the bracket.
- Clean thoroughly. Spray brake cleaner into the bores and onto the pins, then scrub with the bore brush to strip old grease and grit. Wipe dry completely. Mixing a fresh silicone paste over leftover petroleum grease risks the two chemistries separating and failing, so clean the bore down to bare metal before applying anything new.
- Inspect what you cleaned. Look for pitting, scoring, or corrosion on the pin shank, and check the rubber boots for tears, cracks, or swelling. Any of these means the part gets replaced, not reused.
- Apply lubricant correctly. Put a pea sized amount of 100% silicone brake paste on the pin shank only; do not pack the blind hole in the bore. Rotate the pin as you insert it to spread the paste evenly across the contact surface.
- Burp the boot. Gently squeeze the boot to push out trapped air before seating it fully. Packing the bore with too much grease can create an air lock that pushes the pin back out and leaves the caliper dragging.
- Reassemble and verify. Slide the pin fully in and out by hand to confirm smooth travel, reinstall the pads and caliper, and torque the guide bolts to the spec in your vehicle’s service manual. Spin the wheel by hand before driving to confirm the caliper is not binding.
Pro Tip: Mark the top of each pin with a dab of paint pen before you pull it. Reinstalling it in the same orientation keeps the factory wear pattern intact and makes the next inspection faster.
Freeing Seized Pins and Knowing When to Replace Them
A pin that will not budge by hand is not automatically a scrap part, but it does need patience rather than force. Soak it in penetrating oil for several minutes, then work it with light tapping and alternating rotation to break the corrosion loose gradually.
- Never point a torch directly at the caliper body or bores; heat can damage the piston seal and ruin the caliper entirely.
- If the pin frees up but shows pitting or scoring under the corrosion, replace it rather than greasing over damaged metal.
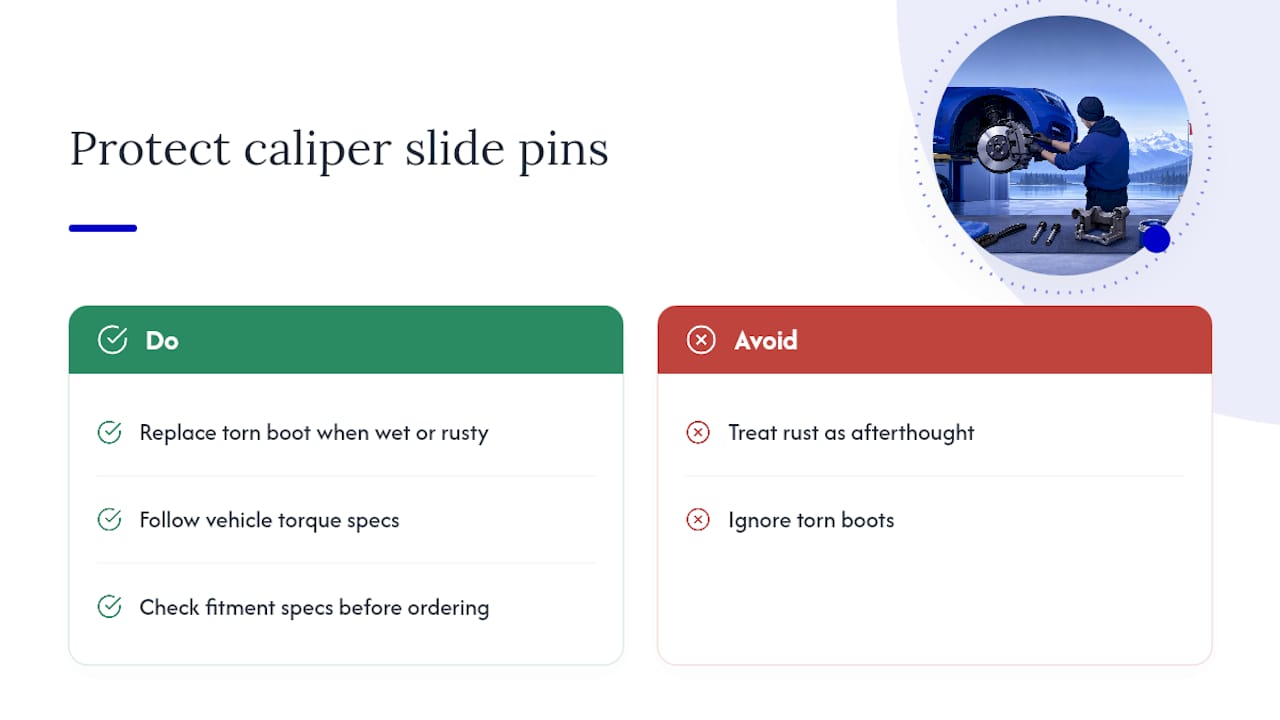
- Replace the boot any time it is torn, cracked, or swollen, since a compromised boot lets moisture back in almost immediately.
- Consider a rebuilt caliper assembly when corrosion has reached the bore itself, not just the pin.
Choosing the Right Lubricant and Avoiding the Wrong One
The rubber boots sealing your slide pins are almost always EPDM, a synthetic rubber chosen for its resistance to brake fluid and heat cycling. Silicone brake paste and specified synthetic ceramic pastes are compatible with EPDM and hold their consistency at caliper operating temperatures, which is why they show up in manufacturer service procedures that call for a specific pin lubricant rather than “whatever grease is on the shelf.”
Anti-seize, copper or aluminum pastes, and petroleum-based chassis grease do the opposite job. Anti-seize fillers are not boundary lubricants and its grease base can break down at brake temperatures, while petroleum products swell EPDM boots and attract abrasive grit. WD-40 belongs nowhere near a slide pin; it is a solvent, not a lubricant, and it washes away almost immediately under heat.
| Lubricant type | Safe for slide pins? | Why |
|---|---|---|
| 100% silicone brake paste | Yes | Compatible with EPDM boots, stable at high heat |
| Manufacturer synthetic ceramic paste | Yes | Meets OEM spec, holds consistency under heat cycling |
| Anti-seize compound | No | Fillers are not boundary lubricants, base can fail at temperature |
| Petroleum chassis grease | No | Swells and degrades EPDM boots |
| WD-40 or similar spray | No | Solvent, not a lubricant; washes out under heat |
Check the tube label for “100% silicone” or an explicit EPDM compatibility note, and favor paste over spray when you need to control exactly where the lubricant goes.
Quick Checks You Can Run Without Pulling the Caliper
You do not need to remove a caliper to get a decent read on slide pin health.
- Look at the pads through the wheel spokes. If the inner pad is visibly thinner than the outer pad on the same wheel, a sticking pin is a likely cause.
- After a short drive, use an infrared thermometer on each rotor. A large temperature gap between the same axle’s wheels usually flags a dragging caliper before it shows up as a smell or a pull.
- If you find a temperature gap or uneven wear, avoid highway speeds and long trips until the caliper is inspected, since a dragging pad only gets hotter with sustained braking.
Aaafrictions Technical Notes on Corrosion and Climate
Corrosion is the real enemy of slide pin longevity, not mileage. Moisture that gets past a torn boot sits against bare metal through freeze thaw cycles and salted roads, which is why Aaafrictions built its ClimateFlex calipers around corrosion resistant coatings rather than treating rust as a maintenance afterthought. Our technical page on caliper corrosion covers boot replacement decisions in more depth for readers dealing with visible rust. Whatever lubricant or pin you choose, follow your vehicle’s service manual torque specs, and check our fitment specs before ordering replacement parts.
A Mechanic’s Take on the 15-Minute Fix
Shops see the same story constantly: a skipped pin cleaning turns into a seized caliper and a much bigger bill. Fifteen minutes of cleaning and greasing prevents that failure almost every time.
Pro Tip: Service both pins on a caliper, not just the one that looks dirty, and check the boots again at every tire rotation.
— AAA
Ready to Replace Worn Brake Components?
When cleaning and greasing is not enough because the pad is worn thin or the rotor shows scoring under the rust, Brake pads, rotor kits, and full brake system kits engineered with HydroAdaptive ceramic technology are available for consistent stopping in rain, snow, and in cold conditions.

Our technology page explains how the moisture management and corrosion-resistant coatings work together to keep pedal feel consistent through the seasons, and our brake pad temperature range guide is worth a read if you are comparing the infrared readings from your own diagnostics. Browse our vehicle-specific kits and technical specs on the Aaafrictions landing page to find the right fit for your car before your next pad change.
Sources
- Preventing Brake Caliper Issues: Understanding the Slide Pin — Rick’s Free Auto Repair Advice
- How to grease brake caliper pins and the mistakes that ruin brakes — TheCarBuzZ
- Brake chassis thermal diagnostics — ApexTech Nation
- Brake caliper pad slides — Tesla Service Manual
FAQ
What do you lubricate caliper slide pins with?
Use 100% silicone brake paste or a manufacturer-specified high-temp synthetic ceramic paste applied thinly to the pin shank, never anti-seize or petroleum-based grease.
How do you know if caliper slide pins are bad?
Watch for uneven pad wear between the inner and outer pad, a brake pull to one side, or a noticeably hotter rotor on one wheel compared to the same axle’s other side.
What is the best way to clean caliper slide pin holes?
Spray brake cleaner into the bore and scrub it with a nylon or wire brush until the metal is bare, then dry it completely before applying fresh lubricant.
Is dielectric grease good for caliper slide pins?
Dielectric grease is designed for electrical connections, not boundary lubrication under heat and pressure, so stick with 100% silicone brake paste rated specifically for slide pins.
How often should slide pins be serviced?
Clean and lubricate them at every pad change and at least once a year, with more frequent checks in salted-winter or coastal climates where corrosion moves faster.