

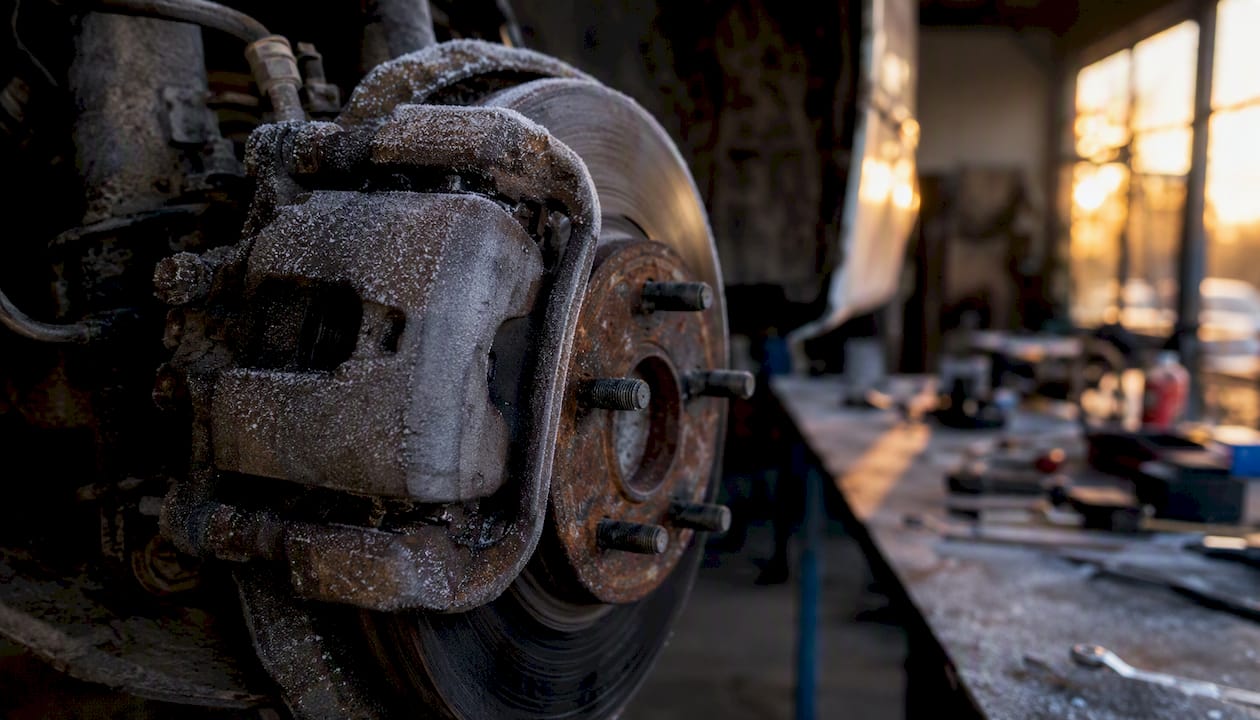
Yes, brake calipers commonly stick in cold, wet winter conditions. If you notice a strong pull to one side, smell something burning near a wheel, or feel the vehicle dragging after you release the brake pedal, treat it as a safety issue and act immediately.
Quick indicators to watch for right now:
- Wheel feels noticeably hotter than the others after a short drive
- Vehicle pulls consistently to one side under braking or while rolling
- Burning smell coming from one wheel area
- Grinding, squealing, or a persistent drag sensation
- Reduced fuel economy with no other explanation
Immediate action: If any of the first three signs are present, stop driving and call for a tow or professional inspection. If the brakes feel usable but slightly sluggish, drive slowly and directly to the nearest shop.
The underlying cause is almost always a combination of road salt, trapped moisture, and freezing temperatures working against the caliper’s pistons, slide pins, or rubber boots. That combination can physically block caliper movement or create enough corrosion to prevent the piston from retracting fully after you release the pedal.
Key Takeaways
A sticking caliper in winter is almost always caused by salt-driven corrosion, frozen slide pins, or hygroscopic brake fluid, and the safest response is to stop driving if heat or pull is severe, then address the root cause before the next winter season.
| Point | Details |
|---|---|
| Stop driving if heat or pull is severe | A hot wheel, burning smell, or strong pull means call a tow, not a DIY fix. |
| Slide-pin service is the highest-impact fix | Cleaning and regreasing pins with high-temp silicone grease resolves most winter seizures. |
| Flush brake fluid annually in salt regions | Brake fluid should be flushed every 12 months in salt-prone regions months reduces internal corrosion and freeze risk. |
| Undercarriage washing prevents most seizures | Rinsing every two weeks during salted conditions is the most cost-effective preventive step. |
| Aaafrictions climate-adaptive kits for repeat cases | The climate-adaptive Type 07 system HydroAdaptive pads and ClimateFlex™ calipers are engineered for drivers in salt-prone winters who want long-term protection. |
The case for treating winter caliper care as a system, not a single repair
Most drivers treat a sticking caliper as a one-time event: fix it, forget it. That approach works once. It rarely works twice in the same vehicle driven through northern winters, because the conditions that caused the first seizure are still present every November.
The more defensible position is to treat the entire braking system as a seasonal ecosystem. Slide pins, boots, fluid, and pad compound all interact. A fresh caliper installed with old fluid and worn boots will often seize again within two seasons. The drivers who avoid repeat failures are the ones who service the whole corner at once: new caliper, new boots, fresh grease, flushed fluid, and pads matched to the operating environment.
Short-term fixes are legitimate triage. But if you are reading this after a second or third winter seizure on the same vehicle, the answer is not another round of slide-pin cleaning. It is a component upgrade that addresses the corrosion and moisture exposure directly. For drivers in salt-heavy regions, that means choosing parts engineered for those conditions from the start.
Table of Contents
- Why do calipers stick in winter? The mechanics behind the problem
- How to tell if your caliper is sticking
- How to diagnose a sticking caliper safely
- Safe short-term methods to free a sticking caliper
- Permanent repair options and what they cost in the U.S.
- How to reduce the risk of calipers sticking next winter
- Climate-adaptive brake options: Aaafrictions HydroAdaptive pads and ClimateFlex™ calipers
- When is it unsafe to drive? A clear decision guide
- Aaafrictions climate-adaptive brake kits for salt-prone winters
- Sources
Why do calipers stick in winter? The mechanics behind the problem
Winter gives calipers several ways to fail, and understanding which mechanism is at work helps you match the symptom to the right repair.
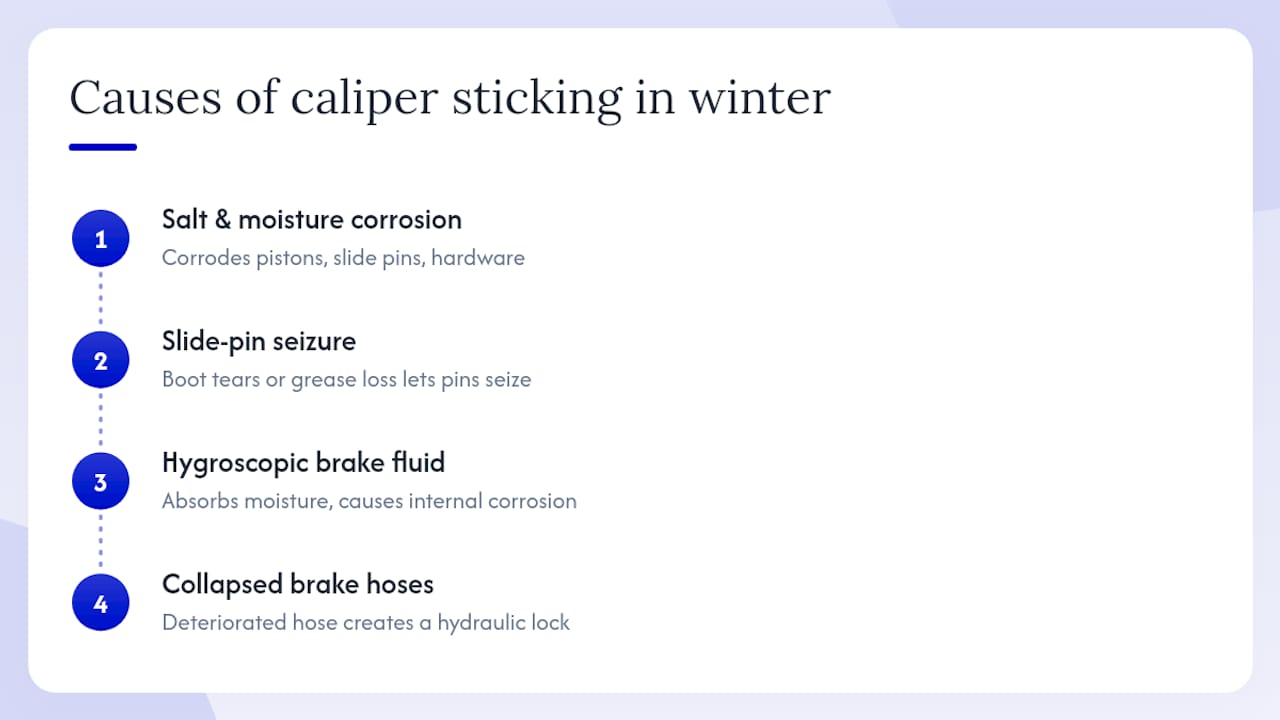
Salt and moisture corrosion are the primary drivers. Road salt dissolves in water and reaches every exposed metal surface under the vehicle. Caliper pistons, slide pins, and the hardware that holds the brake pads all corrode when salt-laden water sits on them long enough. Road salt and moisture are leading causes of piston and seal corrosion; prevention strategies include frequent undercarriage washing and annual fluid service in salt-prone climates. Once corrosion builds on a piston’s outer surface, the rubber seal that normally allows the piston to retract slightly after braking loses its ability to snap the piston back. The pad stays in contact with the rotor, generating heat and accelerating wear.
Slide-pin seizure is the most common single cause of a sticking caliper in cold weather. Floating calipers (the type found on most passenger vehicles) use two slide pins to allow the caliper body to move laterally as the pads wear. Each pin sits inside a rubber boot filled with grease. When that boot tears or ages, moisture and salt enter, the grease washes out or freezes, and the pin seizes in its bore. Frozen or corroded slide pins and contaminated grease increase slide resistance dramatically; servicing pins with appropriate grease before winter prevents many seizures. Fixed (opposed-piston) calipers do not use slide pins, but their pistons are still vulnerable to seal corrosion and piston binding from salt exposure.
Hygroscopic brake fluid adds another layer of risk. Brake fluid absorbs moisture from the atmosphere over time. As water content rises, the fluid’s boiling point drops and its freeze point rises. More critically, brake fluid is hygroscopic and contaminated fluid promotes internal corrosion; flushing brake fluid more frequently helps prevent freeze-related failures inside the caliper bore and ABS components.
Collapsed or aged brake hoses create a hydraulic lock. A hose that has deteriorated internally can act as a one-way valve: it lets pressurized fluid reach the caliper when you press the pedal, but then traps that pressure when you release it. The caliper stays applied. This failure mode is easy to confuse with a seized piston, which is why the bleed-nipple test described in the diagnosis section is so useful.
You can also link caliper corrosion causes and repair tactics to understand how salt penetration progresses from surface rust to full piston seizure over multiple winters.
How to tell if your caliper is sticking
Symptoms such as vehicle pull, hot wheels, burning smell, and uneven pad wear indicate a sticking caliper and warrant prompt professional inspection. Here is what to look and feel for:
- Vehicle pulls to one side while braking or even while driving straight, because one caliper is applying more force than the other
- Burning smell near one wheel, especially after highway driving or a long stop-and-go commute
- Grinding or squealing that persists beyond the first few cold-morning stops
- Dragging sensation when the brake pedal is fully released
- Reduced fuel economy, since a dragging pad creates constant rolling resistance
- One wheel significantly hotter than its partner on the same axle after a 10–15 minute drive
- Uneven pad wear, where one pad is worn far thinner than the pad on the opposite side
- Rotor discoloration (blue or purple tinting) on one rotor but not the other
ABS and brake warning lights can illuminate when a dragging caliper causes enough heat to affect wheel-speed sensor readings or when brake-fluid pressure becomes uneven. Those lights alone are not diagnostic, but they reinforce the need for immediate inspection.
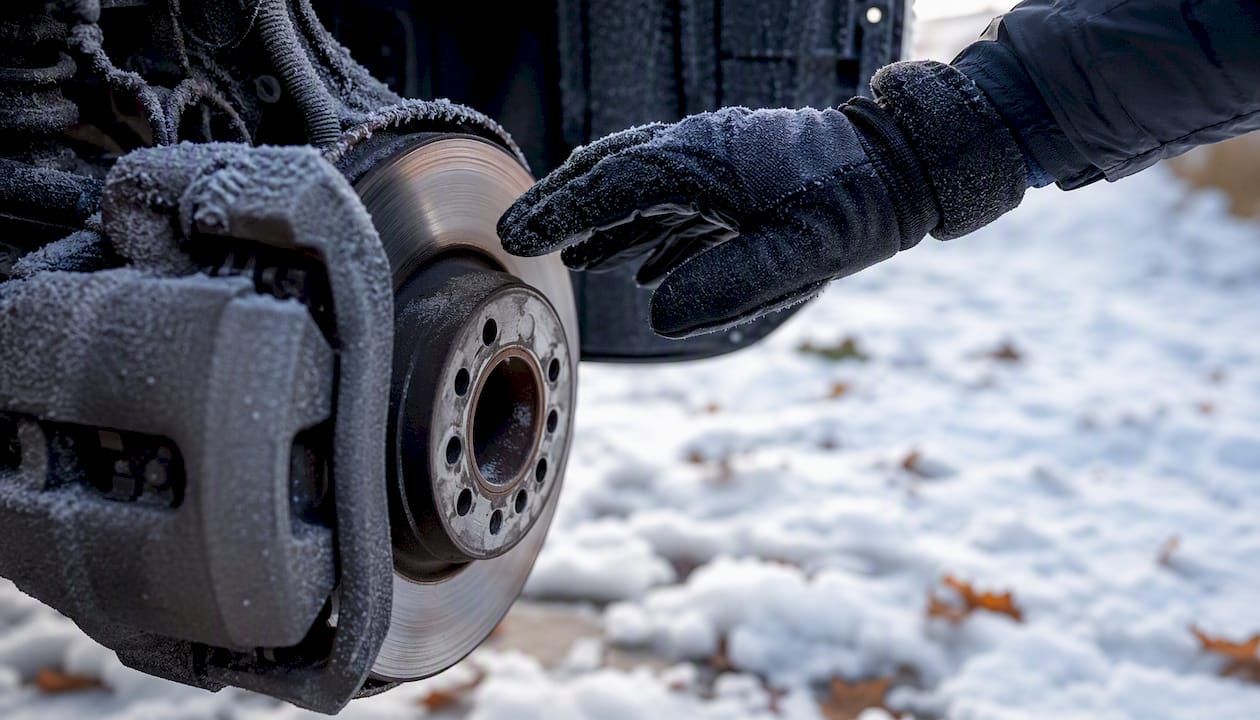
Pro Tip: After a short drive of 10–15 minutes, park and carefully hover your hand two to three inches above each wheel (never touch the rotor directly). A temperature difference of more than a few degrees between wheels on the same axle is a reliable indicator of a dragging caliper. If one wheel is too hot to hold your hand near, stop driving and arrange an inspection before the next trip.
How to diagnose a sticking caliper safely
Early signs like steering pull or a burning smell often precede severe caliper corrosion; mechanics recommend prompt inspection to avoid compounding wear. Use this ordered checklist whether you are doing the check yourself or briefing a shop.
Before you touch anything:
- Park on level ground and chock the wheels
- Allow at least 20–30 minutes of cool-down after driving before touching any brake component
- Wear heat-resistant gloves and safety glasses
- Never work under a vehicle supported only by a floor jack; use jack stands
Step-by-step diagnostic sequence:
- Test drive check. Note whether the vehicle pulls under braking, whether the pedal feels spongy or firm, and whether you detect any burning smell or dragging sensation after releasing the pedal.
- Wheel-temperature check. After the test drive, hover your hand near each wheel as described in the Pro Tip above. Flag any wheel that is significantly hotter.
- Wheel removal and visual inspection. Remove the wheel on the suspect corner. Look for uneven pad wear, rotor discoloration, and any visible corrosion on the caliper body, pistons, or slide pins.
- Slide-pin mobility test. With the caliper removed from the bracket, try to slide the pins by hand. They should move smoothly with light pressure. Resistance, grinding, or complete immobility indicates corrosion or a frozen boot.
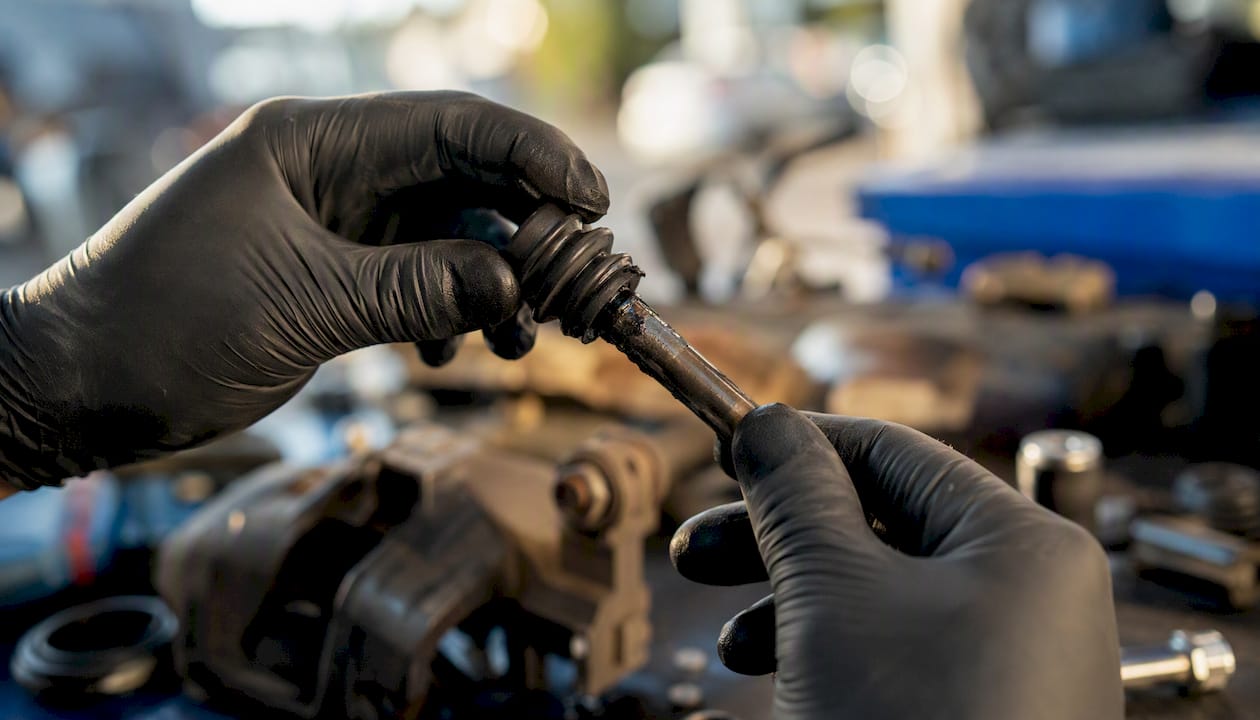
- Boot condition check. Inspect rubber boots on slide pins and pistons for tears, cracks, or collapse. A torn boot almost always means contaminated grease and accelerated corrosion inside.
- Piston retraction test. Try to push the piston back into the caliper bore using a C-clamp or a wind-back tool (required for rear calipers with integral parking brakes). If the piston will not retract, move to the bleed-nipple test.
- Bleed-nipple test. Open the bleed nipple slightly while pushing on the piston. Use the bleed-nipple test and piston push test to distinguish between a collapsed brake hose and an internally seized caliper. If the piston moves freely once the nipple is open, the hose is likely the culprit. If the piston still will not move, the caliper itself is seized internally.
What to tell your mechanic: Report the specific corner, describe the symptom (pull direction, smell location, hot wheel), and ask them to perform a slide-pin check, boot inspection, and bleed-nipple test before authorizing any parts replacement.
Safe short-term methods to free a sticking caliper
These steps are triage only. They may get you to a shop safely, but none of them replace a proper repair.
Safe temporary methods:
- Gentle warm-up drive. If the vehicle is drivable and the braking impairment is mild, a short, slow drive can warm the caliper enough to free light ice around a pin or boot. Drive no more than a mile at low speed, then recheck wheel temperature.
- Lukewarm water application. If the caliper is frozen due to overnight ice accumulation, pouring lukewarm (not boiling) water over the caliper body can melt surface ice. Use only moderate temperature water; a sudden large temperature change can crack a cold rotor.
- Slide-pin cleaning and relubrication. After removing the wheel and caliper, clean the slide pins with brake cleaner, dry them thoroughly, and apply a fresh coat of high-temperature silicone grease before reinstalling. This is the most effective short-term fix for a pin-type seizure.
- Manual piston retraction. If the piston is partially stuck but not fully seized, a C-clamp or wind-back tool can retract it enough to restore clearance. Do this only after ruling out a collapsed hose via the bleed-nipple test.
What to avoid:
- Penetrating oils (WD-40, PB Blaster) on seals or pistons. These products degrade rubber seals and contaminate brake pads, reducing friction.
- Hammering on the caliper body. Impact can crack the caliper housing or damage internal seals.
- Boiling water. Thermal shock can warp rotors and crack calipers.
- Driving with a severely dragging caliper. Continued heat buildup can warp the rotor, overheat brake fluid, and in extreme cases ignite accumulated road debris near the wheel.
Tools you need for safe temporary work: floor jack, jack stands, lug wrench, torque wrench, brake cleaner, high-temperature silicone grease, C-clamp or wind-back tool, heat-resistant gloves.
Pro Tip: If the wheel is too hot to hold your hand near after a short drive, do not attempt any DIY fix. Call a tow. A caliper that has been dragging hard enough to generate that level of heat likely has a seized piston or a collapsed hose, and neither is safely addressed on the side of the road.
Permanent repair options and what they cost in the U.S.
Many seized calipers are caused by a combination of disuse, corrosion, binding slide pins, and lack of lubrication; assessing pad wear and caliper mobility guides repair choices. Not every sticking caliper needs full replacement. The decision depends on piston condition, boot integrity, and the age of the caliper.
When a rebuild makes sense: A caliper with intact housing, no deep pitting on the piston, and serviceable bores can often be rebuilt with new seals, boots, and a cleaned piston. Rebuilds are most cost-effective on newer vehicles where the caliper body itself is in good shape.
When replacement is the safer call: Severely pitted pistons, cracked or collapsed bores, or a caliper older than eight to ten years in a salt-prone region usually warrant full replacement. Labor cost for a rebuild can approach or exceed the cost of a remanufactured unit, making replacement the more practical choice.
Shops generally recommend replacing both calipers on the same axle when one has failed. Mismatched calipers create uneven braking force, which causes the vehicle to pull and accelerates wear on the newer side.
Ranges vary by vehicle make, model, and region. Luxury and performance vehicles typically fall at the higher end.
Authorize safety-critical items first: a collapsed hose or a fully seized caliper takes priority over cosmetic rotor resurfacing. If pads and rotors show heat damage from a dragging caliper, replace them at the same time to avoid uneven bedding on the new caliper.
How to reduce the risk of calipers sticking next winter
Prevention costs far less than repair. Road salt and moisture are primary drivers of piston and seal corrosion, and the most cost-effective countermeasure is also the simplest: wash the undercarriage regularly.
Seasonal maintenance schedule:
- Pre-winter inspection (October/November): Check slide-pin boot condition, measure brake-fluid moisture content with a test strip, and inspect pad thickness. Replace any torn boots before the first salt event.
- Every two weeks during salted conditions: Rinse the undercarriage, including wheel wells and caliper areas, with a pressure washer or at a touchless car wash. Salt that sits for weeks accelerates corrosion exponentially faster than salt rinsed off within days.
- Annual brake-fluid flush: In salt-prone regions, flush to fresh DOT 4 or DOT 5.1 fluid every 12 months rather than the standard two-year interval. DOT 5.1 fluid generally has a higher dry boiling point and slightly better moisture tolerance than DOT 4, making it a sound choice for drivers in harsh northern climates. Learn more about brake fluid moisture management and recommended service intervals.
- Mid-winter visual check: After a major storm or extended period of heavy salting, remove one wheel per axle and visually inspect the caliper and slide-pin boots for cracking or contamination.
Lubricant selection matters. Use a high-temperature, low-freeze-point silicone-based grease specifically rated for brake slide pins. Avoid heavy petroleum greases: they trap grit, become gummy below freezing, and can contaminate brake pads if they migrate. A thin, consistent film of the right silicone grease keeps pins moving freely even at temperatures well below 0°F.
Usage patterns affect caliper health. Vehicles that sit for days between short trips accumulate condensation inside caliper bores and brake hoses. Periodic longer drives, even 20–30 minutes at highway speed, help evaporate that moisture and keep components cycling through their full range of motion. If you store a vehicle for the winter, apply a thin coat of dielectric-safe spray to exposed hardware and consider placing the vehicle on jack stands to take weight off the brake pads.
Pro Tip: Inspect slide-pin boots every fall, not just when symptoms appear. A boot that looks intact from the outside can have a small tear at the base that is invisible until you remove the pin. Catching a compromised boot before winter costs a few dollars in parts; missing it can cost a caliper replacement by spring.
Climate-adaptive brake options: Aaafrictions HydroAdaptive pads and ClimateFlex™ calipers
For drivers who face repeated caliper problems in salted winters, a component upgrade addresses the root cause rather than just treating the symptom.
Aaafrictions engineers its Type 07 HydroAdaptive brake pads and ClimateFlex™ calipers kit specifically for the conditions that cause most winter caliper failures: moisture, salt, and temperature cycling.
Key features of the HydroAdaptive system:
- Rapid moisture clearing: The HydroAdaptive ceramic formulation actively displaces water film from the rotor surface, maintaining consistent friction even when the braking system is wet from snow or slush.
- Corrosion-resistant rotor coatings: Aaafrictions rotors use protective coatings that resist the surface rust that forms overnight and causes morning brake shudder and pad glazing.
- ClimateFlex™ caliper engineering: The ClimateFlex™ calipers are designed for reliability across seasonal temperature swings, with materials and seals selected to resist the corrosion and boot degradation that standard calipers develop after two or three salt seasons.
- Consistent pedal feel across temperature bands: The friction profile of the Type 07 pads is calibrated to deliver stable behavior from cold starts through full operating temperature, avoiding the inconsistent bite that standard pads can exhibit in sub-freezing conditions.
When to choose a full climate-adaptive kit:
- You have experienced a stuck caliper more than once in the same vehicle
- Your vehicle operates regularly in a region with heavy road salting (Midwest, Northeast, Great Lakes)
- You are already replacing pads and rotors due to heat damage from a dragging caliper
- You want to reduce the frequency of slide-pin service and brake-fluid flushes
Installation guidance: Replace pads and rotors together when fitting the Type 07 system. Service slide pins and replace boots during installation, even if the existing pins appear functional. Professional installation is recommended if you do not have access to a torque wrench, wind-back tool, and jack stands. The HydroAdaptive formulation page provides technical specifications and bedding-in procedures for the Type 07 pads.
When is it unsafe to drive? A clear decision guide
A dragging caliper is not always an emergency, but the line between “drive carefully to a shop” and “call a tow immediately” is specific.
- Call a tow immediately if: the wheel locks or skips under light braking, the vehicle pulls so strongly you cannot hold a straight line, you see smoke or smell burning plastic near a wheel, or braking power feels severely reduced on one side.
- Drive slowly and directly to a shop if: you feel a mild drag or slight pull but braking is still functional, the wheel is warm but not dangerously hot, and the symptom appeared recently rather than building over weeks.
- Do not continue normal driving if: a burning smell has been present for more than one trip, a wheel is consistently much hotter than its axle partner, or you have already noticed uneven pad wear and ignored it.
Continuing to drive with a dragging caliper warps the rotor from sustained heat, degrades brake fluid through boiling, and in severe cases can ignite road debris packed around the wheel. A warped rotor adds $150–$300 to the repair bill that a timely tow would have avoided.
What to tell the tow operator or shop: Identify the corner (front left, rear right, etc.), describe the symptom and when it started, note whether the symptom is worse after the vehicle warms up or immediately on a cold start, and photograph the rotor and caliper before handing over the vehicle if you can do so safely.
Aaafrictions climate-adaptive brake kits for salt-prone winters
Repeated caliper seizures in winter are not bad luck. They are a predictable outcome of standard components meeting sustained salt and moisture exposure. Aaafrictions addresses that directly with the Type 07 HydroAdaptive + ClimateFlex™ kit, a complete braking solution engineered for the conditions that cause most cold-weather failures.

The climate-adaptive Type 07 system HydroAdaptive ceramic pads clear moisture rapidly and maintain a consistent friction profile from cold starts through full operating temperature. ClimateFlex™ calipers are built with corrosion-resistant materials and seals rated for repeated freeze-thaw cycling. Together, they reduce the slide-pin seizures, piston binding, and pad drag that standard components develop after one or two salt seasons.
The kit is the right choice when:
- You are replacing pads, rotors, or calipers after a winter seizure event
- Your vehicle operates in the Midwest, Northeast, or Great Lakes region with heavy annual salting
- You want to extend the interval between brake-fluid flushes and slide-pin services
Professional installation is recommended. Find your vehicle’s specific kit and check compatibility at Aaafrictions, or browse the full range of climate-ready brake solutions at Aaafrictions.
This article provides general mechanical guidance and is not a substitute for professional inspection by a qualified technician. Brake system conditions vary by vehicle, age, and usage; confirm repair decisions with a certified mechanic.
Sources
- Winter Brake Maintenance: What Parts to Inspect and Replace – NAPA Auto Parts Blog
- Brake Caliper Won’t Go In | Rusty Autos
- Seized Brake Caliper Signs | Salt Damage Symptoms
- Car brakes sticking: diagnosis and repair options – Oil Changers
- How To Tell If You Have A Seized Brake Caliper | ClickMechanic blog