

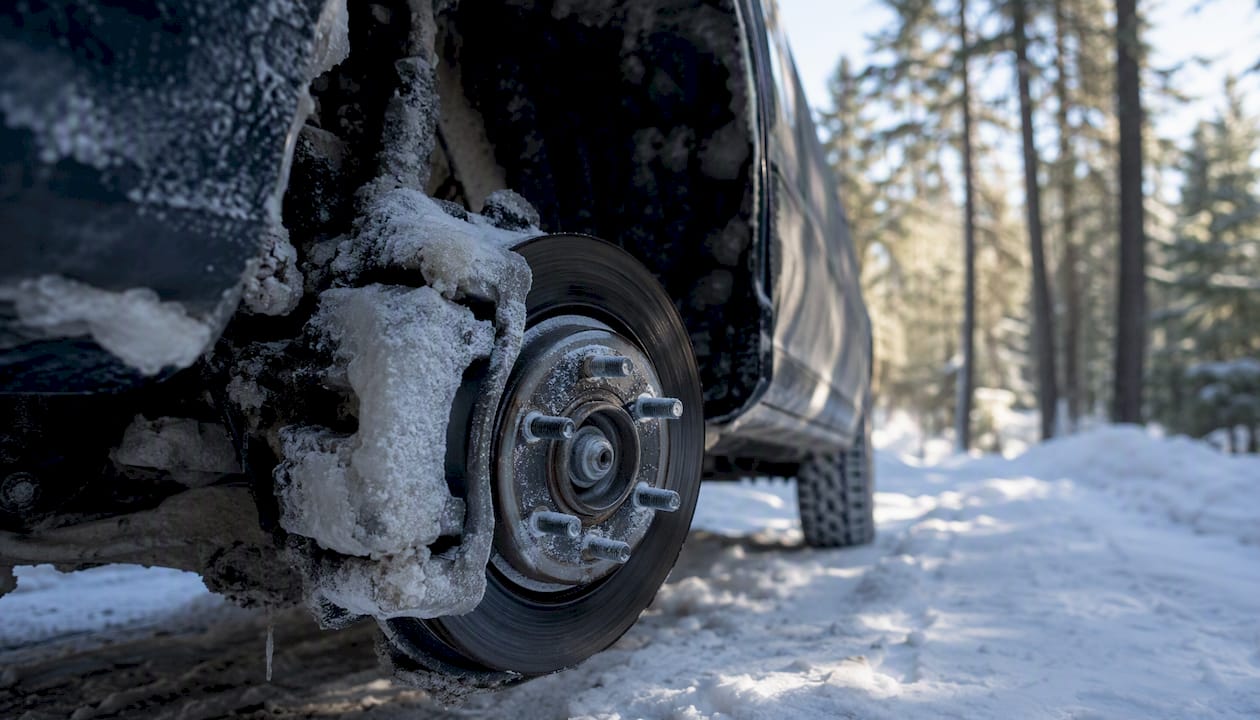
If snow or ice is affecting your brakes, pull over safely, switch on your hazards, and clear or gently warm the brakes before continuing. Do not drive on if the pedal feels soft, sinks toward the floor, or a wheel refuses to turn.
Immediate safety verdict: A soft or sinking pedal, visible fluid leak, or a wheel that won’t rotate are hard stops. Park, call for roadside assistance, and do not attempt to drive the vehicle.
Right-now checklist:
- Pull off the road to a safe, level spot and activate your hazard lights
- Test brakes gently at very low speed before resuming normal traffic speed
- Remove loose snow from the wheel wells by hand or with a brush
- Drive slowly with light, repeated brake applications to warm and dry the rotors
- Call for help immediately if the pedal is soft, fluid is visible under the car, or a wheel won’t spin
Colorado DOT winter-driving guidance recommends carrying emergency gear and planning your route before driving in snow conditions, which gives you options when brake issues arise on the road.
Key Takeaways
Snow and ice buildup in brakes is a manageable winter hazard when you act in the right order: clear first, test gently, and know the red flags that require a mechanic rather than a brush.
| Point | Details |
|---|---|
| Act immediately and safely | Pull over, activate hazards, and test brakes gently before resuming speed. |
| Red flags require a mechanic | Soft pedal, fluid leak, or a wheel that won’t turn means stop driving now. |
| Prevention beats repair | Wash the undercarriage after salty drives and lubricate caliper pins each winter. |
| Shield and coating design matters | Engineering studies show anti-packing shields reduce caliper snow accumulation by up to 38.8%. |
| Aaafrictions winter kits | HydroAdaptive pads, GC/SC-coated rotors, and ClimateFlex calipers address moisture, rust, and seizing in one vehicle-specific kit. |
Table of Contents
- Why Does Snow Build Up in Your Brakes?
- How to Recognize Snow-Related Brake Problems
- What to Do Immediately if Your Brakes Feel Wrong
- How to Safely Remove Snow and Ice from Brake Components
- Winter Brake Maintenance That Prevents Most Problems
- Which Brake Parts and Upgrades Resist Snow and Ice Best?
- When Should You Stop DIY and See a Mechanic?
- Aaafrictions Winter Brake Kits Are Built for This
- Sources
Why Does Snow Build Up in Your Brakes?
Snow and ice accumulate on brake components through several overlapping mechanisms, and understanding them helps you predict when problems are most likely.
Wet, heavy snow is the primary culprit. As you drive through slush, it sprays into the wheel wells and packs around rotors, calipers, and drum housings. The packed material insulates those surfaces, slowing the heat that would otherwise melt it away. Road salt and moisture accelerate corrosion on caliper slide pins, pad abutments, and parking-brake cables, which compounds the problem by causing components to seize rather than simply freeze.
Splash-up and refreezing create a second failure mode. Water thrown up from the road surface contacts a hot rotor, flashes to steam, then refreezes when the vehicle sits overnight or idles in traffic. The result is a thin ice layer bonded between the pad and rotor face, or inside a drum housing around the shoes. This is the classic “glued-on brakes” scenario that Prestone’s winter brake guidance describes, where the vehicle simply won’t move until the ice bond breaks.
EV-specific risk: Electric vehicles using regenerative braking leave the friction brakes cooler and wetter for longer. According to Tesla’s service bulletin on road-salt exposure, EV owners should intentionally apply friction braking periodically after salty or wet drives to dry the pads and rotors before parking.
Key causes at a glance:
- Wet slush packing around rotors, calipers, and drum housings
- Splash-up water refreezing on pad and rotor surfaces overnight
- Road salt corroding caliper pins, slides, and parking-brake cables
- Reduced friction-brake use in EVs leaving surfaces wetter longer
How to Recognize Snow-Related Brake Problems
Symptoms range from minor nuisances to genuine safety hazards, and the distinction matters.
Common signs of brake snow accumulation:
- Grinding or scraping noise on first application after overnight parking
- Sudden grabbing or a “thump” through the pedal when braking lightly
- Reduced stopping power, especially in the first few stops of a cold morning
- One wheel dragging, pulling the car to one side
- ABS activating on dry pavement at low speed
- Parking brake that won’t release, or releases with a loud crack
Wagner Brake’s technical guidance confirms that snow or water on pad and rotor surfaces can cause temporary grinding, squealing, and grabbing until the components dry or the ice clears. That temporary noise is low-risk. The higher-risk symptoms are the ones that persist after a few stops.
ABS activating unexpectedly on dry pavement suggests a wheel-speed sensor issue or a partially locked wheel from ice. Firestone’s guidance on brake lock-up recommends controlled braking and professional diagnosis when lock-up behavior is unexpected, because the cause may be mechanical rather than surface-related.
Safety warning: If the brake pedal feels soft, spongy, or sinks progressively toward the floor, stop driving immediately. This symptom points to a hydraulic issue, not surface ice, and no amount of warming or clearing will fix it roadside. The same applies if the car pulls sharply to one side under braking or if you see fluid pooling under a wheel. These are red-flag conditions that require a mechanic, not a brush and a short drive.
What to Do Immediately if Your Brakes Feel Wrong
Acting in the right order reduces risk and avoids turning a manageable situation into a breakdown.
- Move to safety first. Steer to a parking lot, side street, or highway shoulder. Activate your hazard lights before you stop.
- Test gently at low speed. Once off the main road, roll forward at walking pace and apply the brakes lightly. Note whether the pedal feels firm and whether the car stops evenly. A firm pedal with noise or light grab is likely surface ice. A soft pedal or uneven pull is a mechanical red flag.
- Clear loose snow from wheel wells. Remove packed slush around the tires and wheel-well openings by hand or with a brush. This reduces the material available to repack around the rotors.
- Use light, repeated braking at low speed. Drive slowly in a safe area and apply the brakes gently several times. The friction heat generated will melt surface ice and dry the rotor faces. Prestone’s winter brake guidance recommends this technique for clearing frozen moisture from pad and rotor surfaces.
- For a frozen parking brake, try rocking the vehicle gently forward and backward in a low gear. Avoid applying the parking brake again until you reach a warmer environment.
- Stop and call for help if the pedal remains soft after clearing, if you see fluid under the car, or if a wheel won’t rotate freely.
Pro Tip: After a car wash in freezing temperatures, always perform several firm brake applications before parking. This dries the rotor and pad surfaces and prevents the overnight ice bond that causes “glued-on brakes” the next morning.
How to Safely Remove Snow and Ice from Brake Components
Roadside clearing
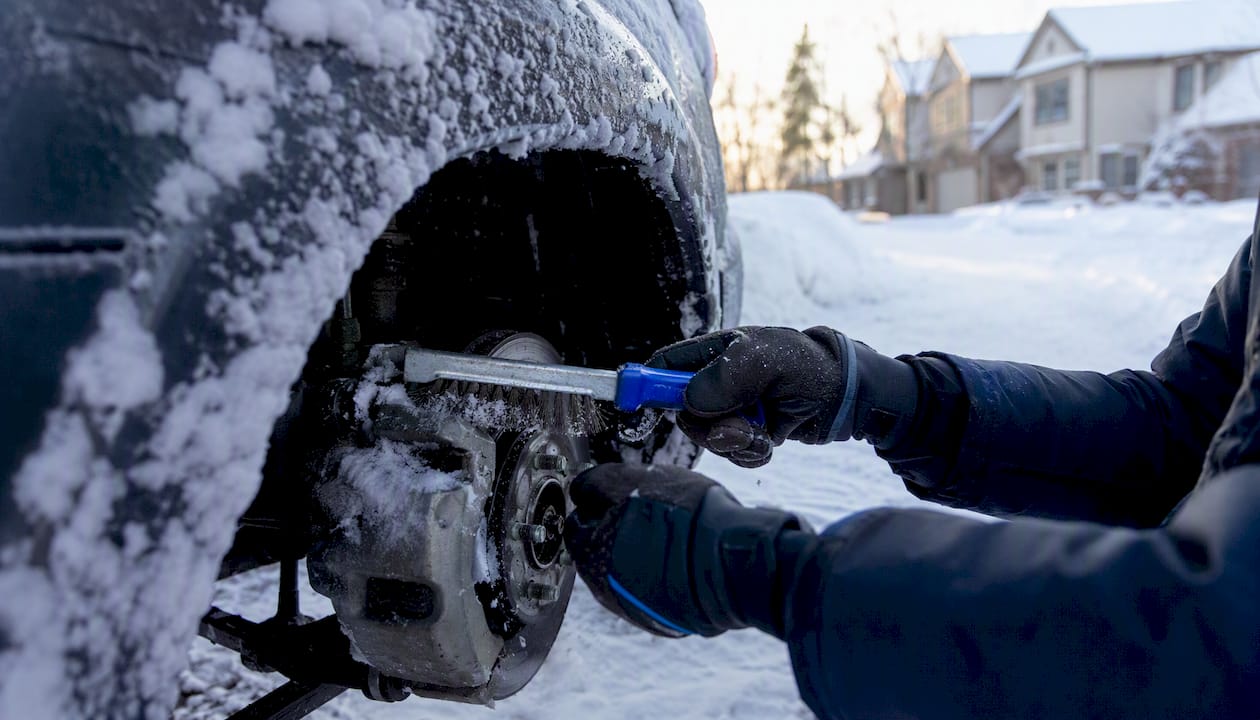
Keep the vehicle on level ground with the transmission in Park and the ignition off. Remove as much loose snow as possible from the wheel well and tire sidewall using a nylon brush or your gloved hand. Then drive slowly, applying the brakes lightly and repeatedly, to generate enough heat to melt the remaining surface ice. This is the safest and most practical roadside method for most drivers.
At-home or driveway clearing
If you have access to a lift or jack stands, removing the wheel gives you direct access to the rotor, caliper, and pad surfaces. Use a nylon brush to dislodge packed snow and a brake cleaner spray to remove salt residue and light corrosion from caliper abutment flats. For heavier rust or salt buildup on caliper surfaces, the Tesla service bulletin outlines a stepwise process: start with a nylon brush, escalate to a wire brush or brake file for stubborn deposits, then lubricate slide pins and abutment flats with appropriate brake grease before reassembly.
What NOT to do:
- Never use an open flame or torch near brake components. Rubber seals, brake fluid, and dust boots are all flammable.
- Avoid pouring boiling water on a cold rotor. The thermal shock can warp the rotor or crack it.
- Do not hammer caliper pins or slide hardware unless you know the exact procedure for your vehicle.
- Avoid setting the parking brake when parking in deep slush or after a wet drive in freezing conditions.
Pro Tip: A vehicle-safe ice-melt product applied to the wheel well before a snowstorm reduces how much slush bonds to the rotor and caliper housing. Check that the product is rated safe for painted and aluminum surfaces before applying.
After clearing, always test the brakes with several controlled stops at low speed in a safe area before returning to normal traffic. Confirm the pedal feels firm and the car stops straight before accelerating.
Winter Brake Maintenance That Prevents Most Problems
Proactive maintenance is far less expensive than a seized caliper or a warped rotor. The table below outlines the key service tasks, their timing, and a rough cost range for drivers who prefer a shop to handle them.
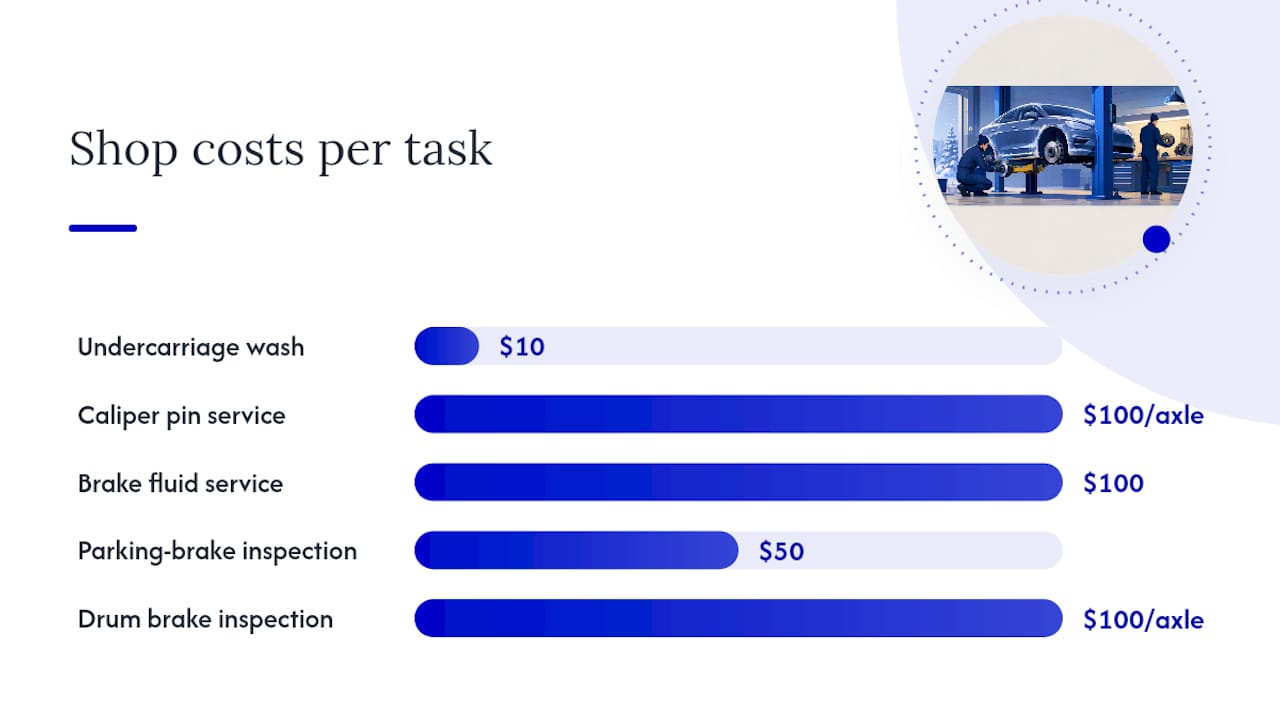
| Service task | When to do it | DIY or shop | Rough cost range (shop) |
|---|---|---|---|
| Undercarriage and wheel wash | After every salty or slushy drive | DIY | $10 at a self-serve bay |
| Caliper slide pin cleaning and lubrication | Mid-winter; post-winter | DIY or shop | $100 per axle |
| Brake fluid check and replacement | Annually or when moisture is suspected | Shop recommended | $100 |
| Pad and rotor inspection | Mid-winter; post-winter | Shop | Included in most brake services |
| Parking-brake cable inspection | Post-winter | Shop | $50 inspection |
| Drum brake post-winter inspection | Post-winter (spring) | Shop | $100 per axle |
NAPA’s winter brake maintenance guidance notes that brake fluid absorbs moisture over time, and contaminated fluid has a lower boiling point, which raises the risk of brake fade under heavy winter braking. Replacing fluid annually is a low-cost step that protects the entire hydraulic system. For more on managing brake fluid moisture, the Aaafrictions resource covers the service steps in detail.
Post-winter drum brake inspections deserve specific attention. Cummins’ post-winter drum-brake guidance recommends measuring drum internal diameter against manufacturer limits, checking S-cam axial and radial movement, greasing bushings, and replacing corroded springs and pins. These are not DIY tasks for most drivers, but knowing to ask for them at a spring service appointment prevents failures the following winter.
Seasonal maintenance habits that make a real difference:
- Wash the undercarriage within 24 hours of driving on heavily salted roads
- Perform a short “drying drive” with firm brake applications after washing in cold weather
- Avoid parking in deep slush for extended periods
- Inspect caliper slide pins for corrosion every mid-winter if you live in a high-salt region
Which Brake Parts and Upgrades Resist Snow and Ice Best?
Not all brake components handle winter conditions equally. The features that matter most are moisture management in the friction material, corrosion resistance on rotor surfaces, and sealed or well-lubricated caliper hardware.
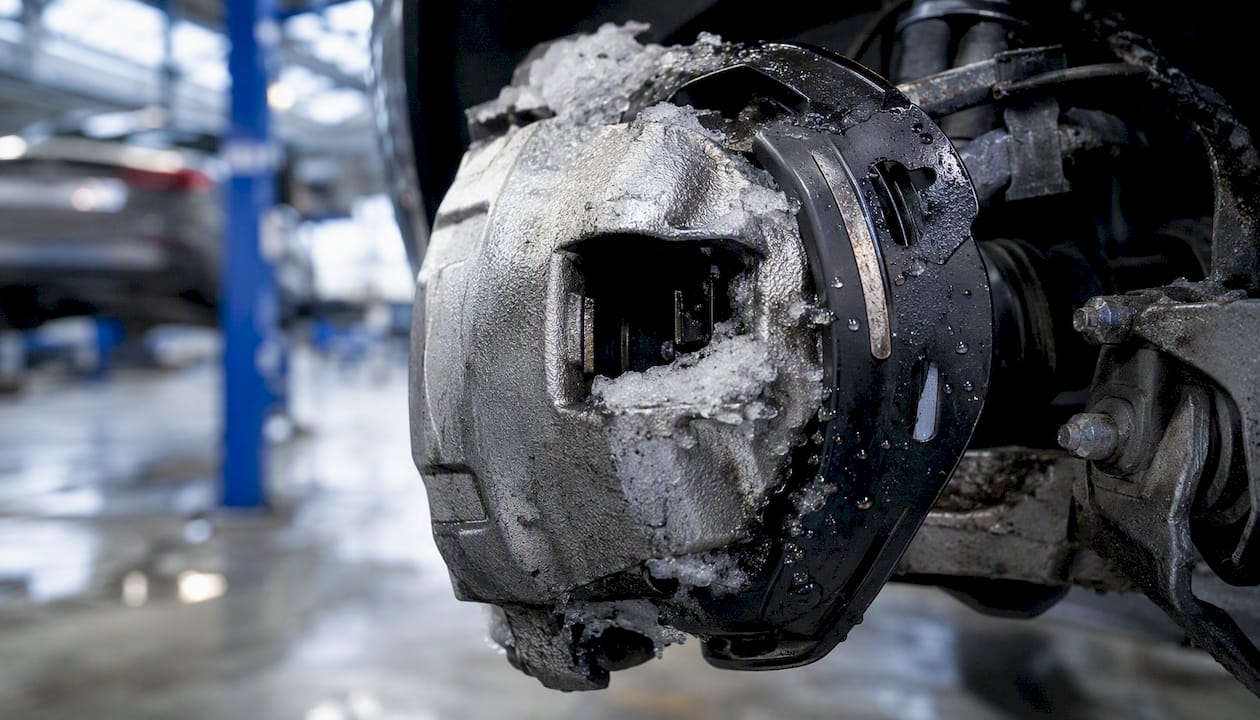
Engineering research supports the value of physical shielding around calipers. A numerical simulation study published in SAGE journals found that anti-snow-packing shields reduced snow accumulation on brake calipers by roughly 18.5%, 26.7%, and 38.8% depending on the shield opening geometry. Those are meaningful reductions in a component that is otherwise fully exposed to wheel-well spray.
For pad material, ceramic formulations generally outperform semi-metallic compounds in wet and cold conditions because they generate less heat variation and resist glazing when temperatures cycle rapidly. The ceramic vs. semi-metallic comparison on the Aaafrictions site covers the trade-offs in detail.
Aaafrictions’ winter-specific components:
- GC (GEOMET-coated) and SC (semi-coated) rotors: Both coatings resist the surface rust that forms overnight on bare iron rotors after wet or salty drives. Less rust means less morning grinding and a more consistent friction profile from the first stop.
- ClimateFlex calipers: Designed with sealed slide hardware and climate-adaptive lubrication to resist the seizing that road salt causes on standard caliper pins. This is the component most often responsible for dragging brakes and uneven pad wear in winter climates.
Vehicle-specific kits, such as the Type 07 HydroAdaptive pads with GC-coated rotors, are plug-and-play for common fitments and include all hardware needed for a complete replacement. Professional installation is recommended for drivers who haven’t replaced calipers before, followed by a proper bed-in procedure to seat the new pads evenly.
When Should You Stop DIY and See a Mechanic?
Some symptoms are beyond roadside clearing and require a shop visit. Recognizing the line between “this will clear on its own” and “this needs a technician” keeps you safe and prevents a small problem from becoming a costly repair.
Urgent red flags, stop driving:
- Soft, spongy, or sinking brake pedal
- Visible brake fluid pooling under a wheel or along the brake line
- A wheel that won’t rotate freely when the vehicle is stationary
- Persistent dragging after multiple clearing attempts and a warm drive
- ABS or ESP warning lights that stay on after the road surface is dry
Near-urgent signs, schedule a service within days:
- Heavy corrosion on caliper pins or slide hardware visible through the wheel
- Repeated grabbing or pulling to one side after clearing attempts
- Parking brake that remains stuck after thaw attempts and a warm drive
When a technician inspects for winter brake damage, they will check brake fluid condition and moisture content, caliper piston and slide-pin freedom of movement, pad thickness and rotor surface condition, parking-brake cable tension and hardware, and wheel-bearing play alongside ABS sensor function. The Cummins drum-brake guidance adds that drum internal diameter measurement and S-cam inspection are part of a thorough post-winter check for vehicles with rear drums.
A note on ABS faults: Unexpected ABS activation on dry pavement, or an ABS warning light that persists, often traces back to a wheel-speed sensor coated in salt and debris rather than a failed sensor. A shop can clean and test the sensor before condemning it, which is a much cheaper outcome.
Our perspective on winter brake habits
Most of the winter brake failures we see trace back to two neglected habits: skipping the undercarriage wash after salty drives, and never lubricating caliper slide pins until they seize. Neither task is expensive or time-consuming. A self-serve car wash costs less than a coffee, and a caliper lubrication service at a shop runs a fraction of what a seized caliper replacement costs. The “drying drive” habit, a short run with several firm brake applications after washing or after driving in wet snow, takes three minutes and prevents the overnight ice bond that strands drivers the next morning. Prevention is not a luxury add-on to winter driving. It is the maintenance decision that keeps stopping distances predictable when conditions are already working against you.
Aaafrictions Winter Brake Kits Are Built for This
Standard brake pads and bare iron rotors were not designed with repeated salt exposure and freeze-thaw cycling in mind. Aaafrictions’ HydroAdaptive brake system addresses the specific failure modes this guide covers: moisture at the friction interface, overnight rotor rust, and seized caliper hardware.

The HydroAdaptive ceramic formulation maintains a consistent friction profile when the rotor surface is wet, slushy, or partially iced. GC and SC rotor coatings resist the surface oxidation that causes morning grinding and uneven initial stops. ClimateFlex calipers use sealed, climate-adaptive slide hardware that resists the salt-driven seizing that standard pins develop after a single hard winter. Vehicle-specific kits ship with all hardware included. Search your vehicle to find the right fit, and follow the included bed-in procedure after installation for consistent performance from the first stop.
Sources
- Post-winter vehicle safety: drum brake maintenance (Cummins)
- Numerical study of snow accumulation on brake calipers (SAGE journals)
- Tech Note: clean and lubricate brake calipers exposed to road salt (Tesla service bulletin)
- How winter weather affects your brakes – Ray’s Auto Service
- How can winter affect your brakes? (Prestone)
- Winter brake maintenance: what parts to inspect and replace (NAPA blog)