

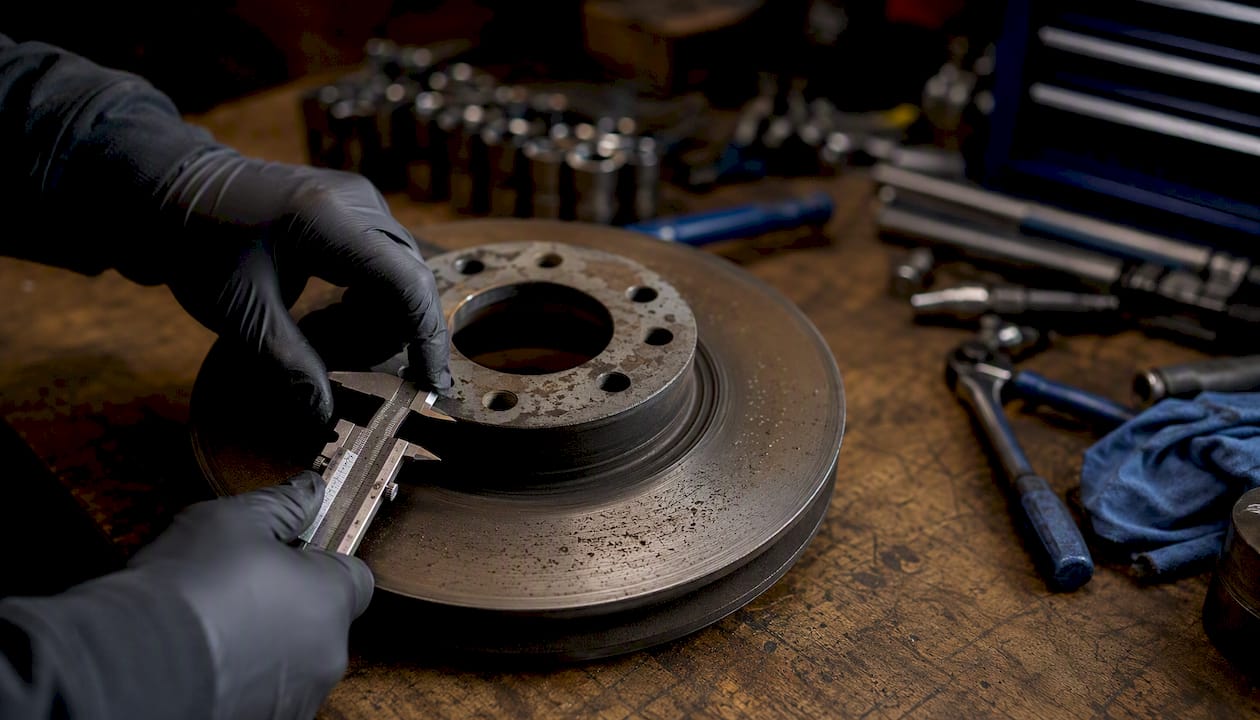
Rotor pitting is not always an emergency, but it is never something to ignore. Light surface rust that appears after rain or overnight parking usually clears within a few stops — that is normal cast iron behavior. The concern starts when corrosion has had time to eat into the rotor face, leaving small craters that pads cannot scrub away. Persistent vibration or grinding that does not clear after several stops signals that the rotor surface may be physically degraded and needs a shop inspection before your next long drive.
Here is how to triage your situation right now:
- Light orange surface rust, no vibration: Drive normally for a few stops. If braking feels smooth and quiet afterward, you are likely fine.
- Visible craters or rough texture on the rotor face: Schedule a shop visit within the week. Avoid highway speeds until inspected.
- Grinding, pedal pulsation, or steering-wheel shimmy during braking: Stop driving for extended trips. Get the vehicle to a shop today or tomorrow.
- One wheel running noticeably hotter than the others: This may indicate a stuck caliper compounding the rotor damage. Tow or drive directly to a shop.
Pro Tip: Before driving to the shop, do three slow, controlled stops from about 20 mph in an empty parking lot. If braking normalizes and the noise fades, surface rust was the likely culprit. If symptoms persist, you have your answer.
Key Takeaways
Rotor pitting that causes persistent vibration or grinding requires prompt inspection; surface rust that clears after a few stops is normal and does not indicate structural damage.
| Point | Details |
|---|---|
| Surface rust vs. pitting | Flash rust clears after a few stops; visible craters or persistent pulsation indicate genuine pitting that needs attention. |
| Measure before deciding | Compare rotor thickness to the stamped discard limit before choosing resurfacing or replacement. |
| Resurfacing limits | Resurfacing is only safe when enough material remains above the discard limit and pits are shallower than the cut depth. |
| Caliper and slide pins | Sticking calipers are a frequent root cause of uneven wear; fixing the rotor without checking caliper function leads to repeat failure. |
| Aaafrictions solution | GC and SC rotor kits paired with HydroAdaptive Type 07 pads address corrosion at the edge, hat, and friction surface simultaneously. |
Table of Contents
- What rotor pitting actually is — and how it differs from flash rust and scoring
- How to inspect your rotors at home — a practical checklist
- Can pitted rotors be resurfaced, and when does replacement make more sense?
- Are pitted rotors safe? How brake rotor damage affects stopping performance
- Repair options, typical costs, and what to expect at the shop
- How to prevent rotor pitting before it starts
- Red flags that mean you should stop driving and get to a shop now
- How Aaafrictions’ rotors and HydroAdaptive technology address corrosion at the source
- What we see most often — and the mistakes worth avoiding
- Aaafrictions builds brake systems for the conditions that cause pitting
- Sources
What rotor pitting actually is — and how it differs from flash rust and scoring
Brake rotor damage comes in three distinct forms, and telling them apart determines your next move.
Flash rust is the thin orange film that forms on bare cast iron within hours of moisture exposure. Rain, a car wash, or even humid overnight air is enough to trigger it. This layer sits on the surface and clears after a stop or two as the pads scrub it away. No structural damage, no safety concern.
Rotor pitting (the industry term is corrosion pitting) is a different condition entirely. When surface rust is allowed to sit undisturbed — during long storage, infrequent driving, or in high-humidity environments — the iron oxidizes deeper into the rotor face. The result is small craters, sometimes called pits, scattered across the friction surface. Pads cannot flatten these craters; they ride over them, creating an uneven contact patch.
Scoring refers to linear grooves cut into the rotor face by debris trapped between the pad and rotor, or by a worn pad whose backing plate has made metal-to-metal contact. Scoring is directional and usually visible as concentric rings. Pitting is random and crater-like.
Repeated cycles of rust formation and scrubbing can create an uneven rotor surface and microscopic pitting that reduces effective friction area and may cause disc thickness variation (DTV) and braking pulsation. The rotor does not have to look severely damaged for this process to affect pedal feel.
The practical takeaway: color alone tells you very little. A rotor can look orange and be perfectly fine, or look only mildly discolored and have significant subsurface pitting. Feel and measurement are the reliable diagnostics.
How to inspect your rotors at home — a practical checklist
You can gather most of the information a shop needs before you ever book an appointment. Work through these steps in order.
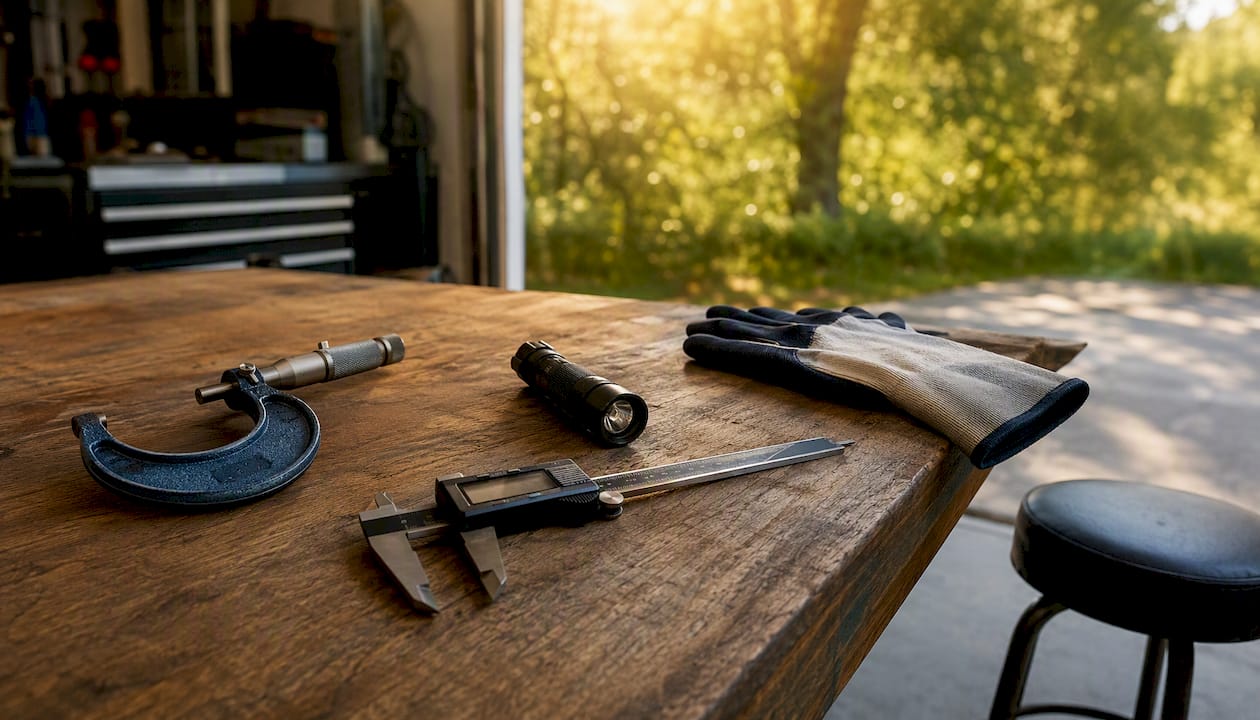
Safety prep first. Park on level ground, chock the wheels you are not inspecting, and let the brakes cool for at least 30 minutes after driving. Hot rotors can cause burns and will give inaccurate thickness readings.
Visual inspection checklist:
- Surface color: uniform orange flash rust is normal; dark brown or black patches suggest heat damage
- Pitting: look for small craters or a pockmarked texture on the flat friction face
- Edge lip: a raised ridge around the outer edge indicates significant material wear
- Grooves: deep concentric grooves visible to the eye (deeper than roughly 1.5 mm) warrant measurement
- Cracks: any radial crack is an immediate replacement indicator
- Flaking or scaling: rust that lifts off in layers means the corrosion has gone deep
Driving checks. From a safe, empty area, perform three stops from 20–25 mph. Note any grinding noise, pedal pulsation (a rhythmic push-back through the pedal), or steering-wheel shimmy. Brake feel is often a more reliable indicator of functional issues than rotor color alone; a rotor that looks rough but brakes cleanly is less urgent than one that looks fine but pulses.
Thickness measurement. Use a brake rotor micrometer (available at most auto parts stores for under $30) to measure rotor thickness at four to six points around the circumference. Record the thinnest reading. Every rotor has a minimum thickness specification stamped or cast into the hat (the center hub area) or listed in your vehicle’s service manual. That number is the discard limit — the rotor must be replaced, not resurfaced, if it is at or below that figure.
| Measurement finding | Severity | Recommended action |
|---|---|---|
| Thickness well above discard limit, no pitting | Low | Monitor; re-inspect at next oil change |
| Thickness above discard limit, shallow grooves only | Low-medium | Resurfacing may be appropriate |
| Thickness near discard limit, visible pitting | High | Replace; do not resurface |
| At or below discard limit | Critical | Replace immediately |
| Cracks, deep pitting, or flaking | Critical | Replace immediately; do not drive |
Pro Tip: A dial indicator mounted on a magnetic base gives you disc thickness variation (DTV) — the difference between the thickest and thinnest point on the same rotor. A DTV above 0.001 inch (0.025 mm) on most passenger vehicles is enough to cause pedal pulsation. Most shops can measure this in minutes.
Can pitted rotors be resurfaced, and when does replacement make more sense?
Resurfacing (also called turning or machining) removes a thin, uniform layer from both faces of the rotor on a brake lathe, restoring a flat, smooth friction surface. The process takes roughly 30 minutes per axle pair when the rotor qualifies. The critical word is qualifies.
Each rotor has a minimum thickness discard level, and resurfacing is only appropriate when enough material remains above that limit after the cut. A typical lathe pass removes 0.010–0.030 inch per side. If the rotor is already close to its discard thickness, machining it further creates a rotor too thin to absorb and dissipate heat safely, which raises the risk of warping or cracking under hard braking.
Deep pitting complicates this further. A lathe removes material uniformly, but if the pits are deeper than the amount of material that can safely be removed, the resurfaced face will still show craters. You have spent money on machining and still have a compromised friction surface.
Resurfacing is greener and cheaper when feasible, but modern thin rotors and corroded edges frequently make replacement the safer long-term option. A shop that measures first and machines second is doing the job correctly.
| Rotor condition | Likely fix | Practical note |
|---|---|---|
| Shallow grooves, ample thickness | Resurface | Cost-effective; restores surface quickly |
| Light pitting, thickness above discard limit | Resurface (marginal) | Confirm pit depth does not exceed cut depth |
| Deep pitting or edge scaling | Replace | Machining will not eliminate the craters |
| At or near discard thickness | Replace | No material margin for a safe cut |
| Heat cracks or blue heat spots | Replace | Structural integrity is compromised |
One more consideration: a rotor that has been overheated in the past may have developed internal stress. Machining removes the surface but not the stress. That rotor is more likely to warp again under normal driving loads. If you see blue discoloration or concentric heat rings, replacement is the right call regardless of remaining thickness.
Are pitted rotors safe? How brake rotor damage affects stopping performance
The friction surface of a rotor works because pads maintain consistent, full-face contact during a stop. Pitting disrupts that contact. Each crater is a small gap where the pad is not touching the rotor, which reduces the effective friction area during braking. The effect on stopping distance in mild cases is marginal, but it compounds quickly as pitting spreads or deepens.
The more immediate safety concern is disc thickness variation. When pits are distributed unevenly around the rotor, the rotor’s effective thickness changes as it rotates. Pads riding over these variations create the rhythmic pedal pulsation drivers feel through the brake pedal or steering wheel. That pulsation is not just uncomfortable — it indicates the braking force is fluctuating with every wheel rotation.
Uneven rotor surfaces also accelerate pad wear. Pads that cannot maintain flat contact develop uneven wear patterns, which shortens their service life and can cause the pad to tilt in the caliper bracket. A tilted pad increases the risk of a stuck caliper piston or seized slide pins, which then applies constant, uneven pressure to one side of the rotor. That cycle of uneven wear and caliper stress is how a moderate pitting problem becomes an expensive brake system failure.
Symptoms that indicate the situation has moved past “monitor and watch”:
- Pedal pulsation that does not resolve after five or more stops from normal driving speeds
- Audible grinding that persists beyond the first stop after the car has been sitting
- Steering-wheel vibration specifically during braking, not during normal driving
- Noticeably longer stopping distances compared to normal
Repair options, typical costs, and what to expect at the shop
A competent shop will follow a consistent diagnostic sequence: measure rotor thickness and DTV first, inspect pad thickness and caliper function, then recommend a course of action. Be cautious of any shop that recommends machining or replacement without measuring first.
Common services and approximate cost ranges:
- Rotor resurfacing (turning): roughly $15–$25 per rotor at most independent shops, so $30–$50 per axle pair. Same-day service when the shop has a lathe available.
- Rotor replacement (parts + labor): typically $150–$300 per axle for economy-grade rotors on a standard passenger vehicle, higher for performance or truck applications. Same-day if parts are in stock; next-day if the shop needs to order.
- Pad replacement: usually bundled with rotor work; budget $80–$150 per axle for quality ceramic pads plus labor.
- Full pads-and-rotors service (both axles): $400–$700 is a reasonable range for a typical sedan at an independent shop. Dealer pricing runs higher.
- Caliper rebuild or replacement: $150–$300 per caliper depending on vehicle and whether the shop rebuilds or replaces. Add this if a stuck caliper is identified as the root cause of uneven wear.
For a detailed breakdown of what these services should cost and where the price variation comes from, the brake pad and rotor replacement cost guide covers the full range.
| Service | Approximate cost (per axle) | Typical timeline |
|---|---|---|
| Rotor resurfacing | $30–$50 | Same day (about 30 min) |
| Rotor replacement | $150–$300 | Same day or next day |
| Pad replacement | $80–$150 | Same day |
| Pads + rotors (one axle) | $150–$300 | Same day or next day |
| Caliper rebuild | $150–$300 per caliper | Half to full day |
Always replace pads when you replace rotors. New rotors bedded against old, glazed pads will develop uneven deposits quickly, recreating the pulsation problem you just paid to fix.
How to prevent rotor pitting before it starts
Prevention is mostly about keeping the rotor surface active. Cast iron corrodes fast when it sits idle; the pad’s scrubbing action is what keeps it clean.
Driving habits that reduce corrosion risk:
- After the car has been parked for several days, perform a few firm stops from 30–40 mph in a safe area to clear any rust that has formed
- Avoid parking outdoors in high-humidity or coastal environments for extended periods when possible
- If storing a vehicle for more than two weeks, consider a covered, dry space and plan a short drive with several hard stops before returning to normal use
Maintenance practices:
- Inspect brakes at every tire rotation — at minimum, once per year
- Clean and lubricate caliper slide pins annually; seized pins are a leading cause of uneven pad contact and accelerated rotor wear. The caliper corrosion guide covers this in detail.
- Check that caliper pistons retract properly; a piston that does not fully retract keeps the pad dragging against the rotor, generating heat and uneven wear
Coatings and material choices. Anti-corrosion coatings like GEOMET (a zinc-aluminum flake coating applied to the rotor hat, edges, and non-friction surfaces) significantly slow rust formation on the areas pads do not contact. These coatings do not cover the friction face, but they prevent the aggressive edge and hat corrosion that can eventually migrate inward. High-carbon rotor alloys also resist corrosion better than standard gray iron and dissipate heat more efficiently, which reduces the thermal cycling that accelerates surface degradation.
Pro Tip: EV and hybrid owners need to pay extra attention here. Because regenerative braking handles most deceleration on EVs, friction brakes are used infrequently — sometimes for weeks at a time in mild weather. Without regular pad scrubbing, surface rust has time to develop into genuine pitting. Schedule a brake inspection at every tire rotation, not just annually.
Red flags that mean you should stop driving and get to a shop now
Most rotor issues allow a few days to schedule a shop visit. These do not.
- Grinding that persists through multiple stops: metal-to-metal contact is likely; continued driving will destroy the rotor and damage the caliper
- Severe pedal pulsation that does not improve after five stops: DTV is significant enough to affect braking consistency
- Steering-wheel shake specifically during braking: front rotor condition is affecting directional control
- One wheel running visibly hotter than the others after a normal drive: a stuck caliper is applying constant pressure; this can lead to brake fade or a fire in extreme cases
- Visible metal flaking from the rotor edge: the rotor has corroded through its usable cross-section
If you experience grinding combined with a pulling sensation to one side during braking, do not continue driving. Sticking calipers and corroded slide pins are frequent root causes of uneven rotor wear, and a caliper that is partially seized can generate enough heat to damage brake fluid, warp the rotor further, or in rare cases ignite nearby components.
If you are not confident driving the vehicle to a shop, call for a tow. The cost of a tow is far less than the cost of a caliper, rotor, and pad replacement on a vehicle that was driven until the system failed completely.
How Aaafrictions’ rotors and HydroAdaptive technology address corrosion at the source
Aaafrictions engineers its brake system components specifically around the conditions that cause rotor pitting: moisture, temperature cycling, and infrequent use. The HydroAdaptive ceramic formulation in Aaafrictions’ Type 07 pads is designed to maintain consistent friction even when the rotor surface carries residual moisture, which reduces the uneven pad contact that accelerates surface degradation.
On the rotor side, Aaafrictions offers two corrosion-resistant options:
- GC rotors use a GEOMET coating on the hat, vanes, and edges — the areas most vulnerable to rust migration — while the friction face is precision-machined for consistent pad contact from the first stop
- SC rotors use a semi-coated finish that provides similar edge and hat protection at a different price point
Both rotor types are available as matched kits with Type 07 pads, which matters because pad compound and rotor surface finish are engineered together. A mismatched pad can glaze a new rotor surface within the first few hundred miles.
- Vehicle-specific kits eliminate fitment guesswork — search your year, make, and model to find the right configuration
- Replacing pads and rotors together as a kit ensures the friction profile is consistent across the full contact surface
- The HydroAdaptive formulation is particularly relevant for drivers in wet climates, high-humidity regions, or anyone whose vehicle sits for extended periods
Pro Tip: If your current rotors show edge scaling or hat corrosion alongside face pitting, a GC rotor kit addresses all three failure points at once — not just the friction surface.
What we see most often — and the mistakes worth avoiding
From a shop perspective, the most common finding on vehicles with rotor pitting is not the rotor itself — it is the caliper. Seized slide pins and sticky caliper pistons create uneven pad pressure, which means one section of the rotor gets more heat and friction than the rest. That uneven loading accelerates corrosion in the low-contact zones and creates the pitting pattern owners notice first.
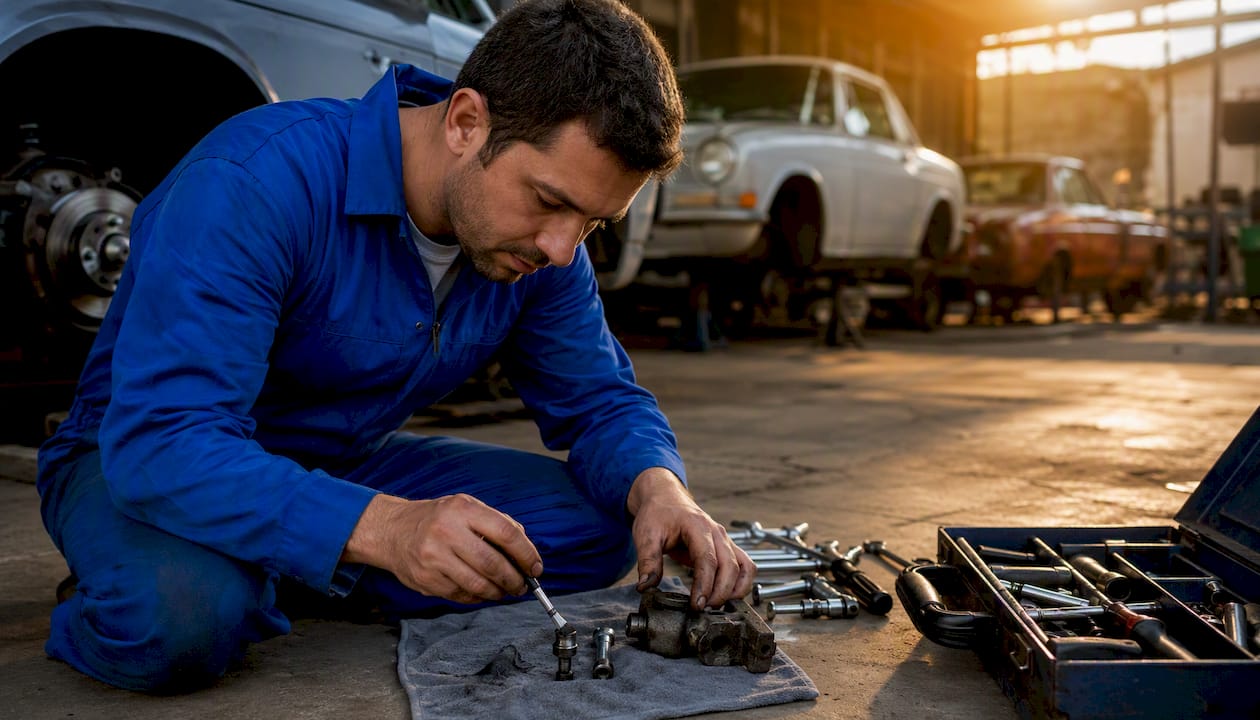
The second most common mistake is skipping measurement. A rotor that looks bad may have plenty of material left; a rotor that looks acceptable may be at its discard limit. Neither visual inspection nor brake feel alone tells you whether resurfacing is viable. Measure first, always.
Third: replacing rotors without replacing pads. Old pads have a wear profile shaped to the old rotor surface. They will not bed correctly to a new rotor, and the uneven contact deposits that result can cause pulsation within a few thousand miles. Replace both together, and ask your shop to confirm caliper function before the job is closed out.
Aaafrictions builds brake systems for the conditions that cause pitting
Drivers dealing with pitted rotors often replace the rotor and call it done — only to see the same problem return within a year because the underlying conditions (moisture, infrequent use, marginal pad contact) were never addressed.

Aaafrictions takes a system-level approach. The Type 07 pads with GC rotor kit pairs a GEOMET-coated rotor with a HydroAdaptive ceramic pad compound engineered to maintain friction consistency in rain, humidity, and cold — the exact conditions that accelerate corrosion. The coating protects the rotor’s edges and hat from rust migration, while the pad’s moisture-clearing formulation keeps the friction interface clean stop after stop. For drivers in wet climates or anyone whose vehicle sits for extended periods, this combination reduces the cycle of rust formation and pitting that standard components cannot interrupt.
Use the vehicle fit search to find the right kit for your year, make, and model, and get the full brake system working as a single, corrosion-resistant unit.
Sources
The sources below were used in preparing this guide and offer additional depth on specific aspects of rotor condition, inspection, and repair:
- Why Brake Rotors Rust Overnight—And When To Worry
- When Should I Replace vs Resurface Brake Rotors?
- EV Brake Rotor Corrosion: The Hidden Problem on EVs | R1 Concepts
- When Rusty Brake Rotors Are A Real Problem (And When They Aren’t)
- Pitted rotors but a lot of wear left on the pads – leave them or change them?