

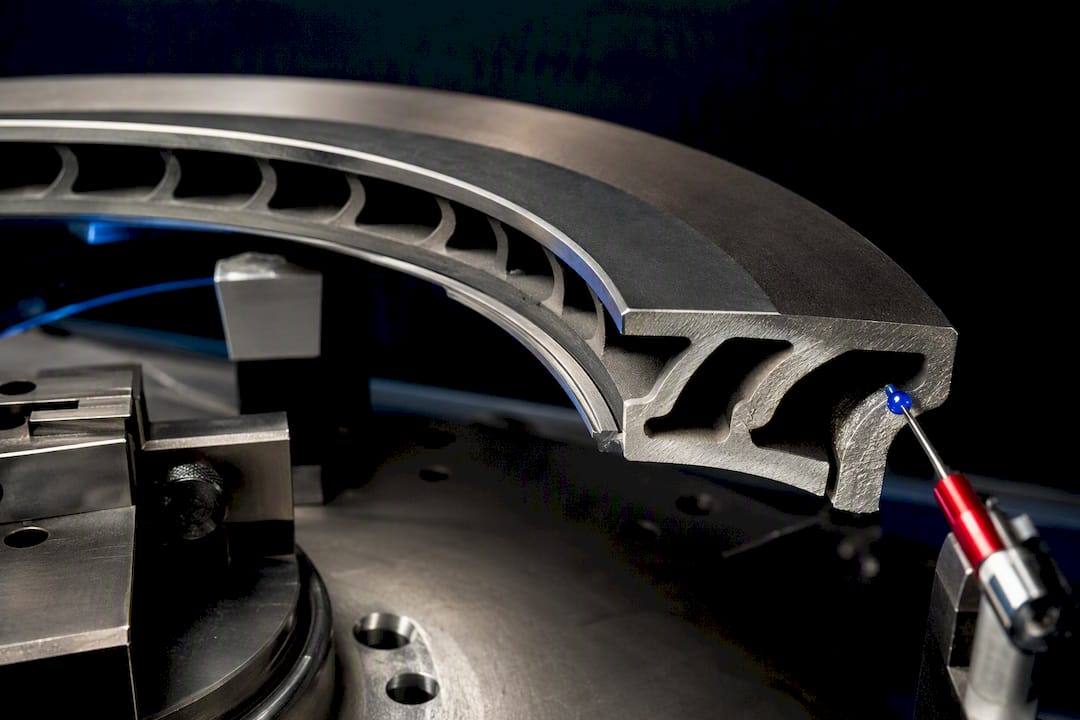
Directional rotors must mount so their internal curved vanes lean toward the rear of the vehicle at the top, pumping air outward as the wheel spins forward. Check the manufacturer’s L/R stamp first; if it’s missing, sight down the vents to confirm vane lean before you trust any slot or drill pattern. Never bolt the wheel back on until you’ve verified this.
TL;DR:
- Ensure vanes lean toward the rear of the vehicle with an L/R mark or arrow, not just the external slot pattern, before installation.
- Verify vane curvature by inspecting rotor vents with a light or flashlight, as outward slots can be misleading for orientation.
- Reversed vane orientation drastically reduces cooling efficiency, increases brake fade risk, and can cause uneven wear and cracking over time.
- Most non-directional rotors are symmetrical and do not require specific orientation; always check manufacturer documentation.
- Correct vane direction and material choice work together to maximize braking performance, especially in conditions with moisture, salt, or heavy use.
Table of Contents
- How Directional Rotors Work: Vane Geometry and Airflow
- How Do You Tell Left From Right Directional Rotors?
- Step-by-Step Installation and Verification Checklist
- What Happens When Rotors Go on Backwards
- When Rotors Are Non-Directional (and How to Know)
- Why Rotor Engineering Still Matters Beyond Orientation
- What We’ve Learned About Getting This Right
- Finding the Right AAA Frictions Rotor for Your Vehicle
- Sources
How Directional Rotors Work: Vane Geometry and Airflow
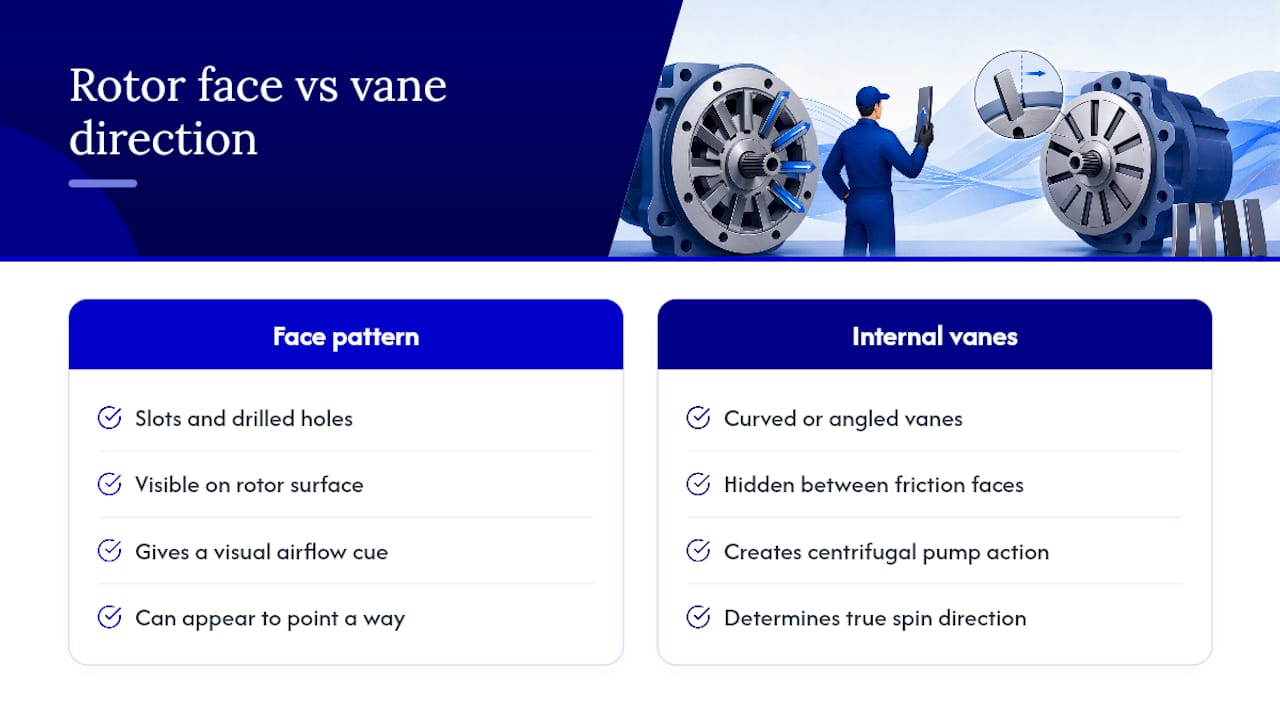
A directional rotor isn’t a flat disc with holes in it. Inside the rotor, between the two friction faces, sit a series of curved or angled vanes. As the wheel spins, those vanes act like a centrifugal fan, pulling air in near the hub and flinging it out toward the rotor’s edge. Straight vanes move some air too, but curved vanes move it with intent, creating a directional pump effect that only works correctly when the rotor spins the way its vanes were designed to spin.
That airflow does real work. It carries heat out of the rotor faster during hard or repeated stops, which keeps pad temperatures in a stable range instead of climbing toward the point where friction material starts to fade. It also helps clear gas and debris that build up between the pad and rotor surface under heavy braking, which is part of what keeps pedal feel consistent, stop after stop.
Here’s where drivers get tripped up: slots and drilled holes on the rotor face are a separate design choice from the internal vane geometry, and the two don’t always visually agree. A rotor’s drill pattern can look like it points one way while the vanes underneath actually pump the other, which is exactly why relying on the exterior pattern alone leads to backwards installs.
How Do You Tell Left From Right Directional Rotors?
Most manufacturers make this easier than you’d think, if you know where to look. Start with the obvious cue and work down the checklist only if it’s missing.
- Check for an L/R stamp or arrow. Performance and OEM rotors often carry a laser-etched “L” or “R,” or a small arrow showing rotation direction, usually near the hub or on the rotor hat.
- Sight the internal vanes. Hold the rotor up to a light and look into the vent openings, or shine a flashlight through them. The curve of the vanes should lean toward what will become the rear of the car once mounted.
- Ignore the slot pattern as a standalone clue. Different manufacturers cut slots in mirrored patterns for cosmetic or noise reasons, and a pattern that looks “backwards” can still sit on a correctly oriented rotor.
- Fall back on documentation. If markings are worn off or absent, the part number and manufacturer fitment sheet will confirm whether the rotor is directional at all, and which side it belongs on.
The decision flow is simple: marking first, vane inspection second, manufacturer documentation as the tiebreaker. Skip straight to guessing based on slots, and you’re gambling with a part that controls how your car stops.
Step-by-Step Installation and Verification Checklist
Getting a directional rotor mounted correctly takes maybe five extra minutes over doing it wrong. Here’s the sequence we recommend every time.
- Chock the wheels and lift safely. Use jack stands rated for the vehicle’s weight, never the jack alone.
- Remove the wheel and caliper. Support the caliper with a hook or bungee so it doesn’t hang on the brake line.
- Clean the hub face thoroughly. Rust, scale, or debris left on the hub can keep the rotor from seating flush, which throws off how flat and true it sits, even if the orientation is right.
- Seat the rotor and align the orientation. Confirm the L/R mark or vane lean points rearward before you push the rotor onto the hub.
- Hand-thread the fasteners first. Never start torquing before every bolt or lug is threaded by hand to avoid cross-threading.
- Torque in the correct pattern and to spec. Follow your vehicle’s OEM torque values and star pattern; both matter as much as the number itself.
- Reinstall the caliper and wheel, then torque the lugs. Use the same star pattern here too.
- Pump the brake pedal before driving. This reseats the pads against the new rotor surface.
- Road test at low speed first. Brake gently several times, then progressively harder, listening and feeling for anything unusual.
Pro Tip: After the first ten to fifteen brake applications, pull over and check each rotor for even heat with the back of your hand near (not on) the surface. A cooler spot or a hot spot on one side often means uneven pad contact, and it’s worth a second look before you trust the car on the highway.
Watch for noise, pulsation through the pedal, or a burning smell in the first few miles. Any of those means stop and recheck before continuing.
What Happens When Rotors Go on Backwards
Reversed vane orientation flips the pumping effect against itself. Instead of drawing air through and out, the vents work against the airflow, and cooling efficiency drops while brake fade risk climbs under repeated hard stops, exactly the situation where you need the brakes most.
The wear pattern tells the story over time. You’ll often see uneven pad wear, glazing on the friction surface, new noise, or a pulsing pedal that wasn’t there before. Push the issue further, under towing loads or mountain descents, and the sustained heat can lead to heat-related fatigue and even cracking in the rotor itself.
If you catch a backwards install right after mounting, before any real heat cycles, pull the wheel and flip it. If the car has already seen aggressive braking with rotors reversed, don’t just monitor it. Inspect for cracking, glazing, and uneven thickness before trusting it on the road again.
When Rotors Are Non-Directional (and How to Know)
Not every rotor cares which way it spins. Most replacement rotors sold today are non-directional, built with straight vanes or a symmetrical vent design that pumps air effectively in either rotation. Some cross-drilled rotors fall into this category too, depending on the manufacturer’s engineering choice.
The only reliable way to know is documentation, not guesswork. Check the part listing, the box, or the manufacturer’s fitment notes for a “non-directional” or “reversible” callout. Our breakdown of drilled and slotted rotor designs covers how these variations differ from true directional builds. When the paperwork doesn’t say either way, treat the rotor as directional until a qualified technician confirms otherwise.
Why Rotor Engineering Still Matters Beyond Orientation
Getting the vane direction right solves half the equation. The other half is what the rotor is made of and how it manages heat and moisture once it’s spinning correctly. AAA Frictions builds HydroAdaptive Technology into our braking systems specifically to clear moisture fast and hold consistent friction through rain, slush, and humidity. Our GC rotors use coated surfaces engineered for corrosion resistance, while SC Type rotors balance thermal stability with everyday driving demands, so correct orientation and the right rotor work together, not separately.
What We’ve Learned About Getting This Right
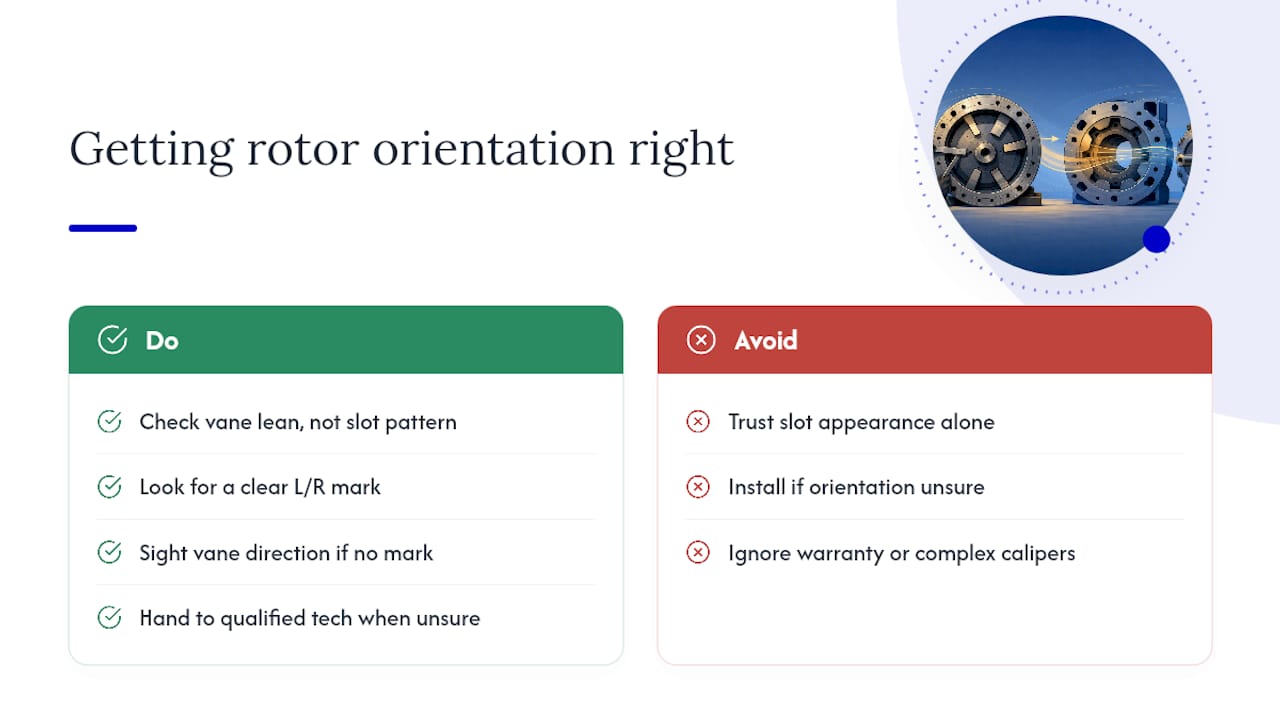
Most installation mistakes we hear about aren’t caused by careless mechanics. They come from trusting the wrong visual cue, usually a drill pattern that looks backwards when the vanes underneath are actually correct. That’s a design inconsistency between manufacturers, not a reader error, and it’s the single biggest reason we push vane inspection over slot appearance every time this question comes up.
Our stance is straightforward: if a rotor doesn’t carry a clear L/R mark, take the extra two minutes to sight the vanes before it goes on the hub. If the vehicle is under warranty, has a complex multi-piston caliper setup, or you’re simply not confident reading vane geometry, hand it to a qualified technician. Getting rotor orientation wrong doesn’t fail gently. It fails under the hardest stop you take, which is the one time you can’t afford a mistake.
— AAA
Finding the Right AAA Frictions Rotor for Your Vehicle
Correct orientation only gets you half the performance a rotor can deliver. The other half comes from what the rotor is built to handle once it’s spinning the right way, and that’s where most drivers leave performance on the table.

If your vehicle sees rain, road salt, or long winters, our Type 07 Brake Pads + GC Rotors Kit pairs HydroAdaptive+ ceramic pads with GEOMET coated GC rotors built to resist corrosion and clear moisture fast. Drivers running towing loads or frequent highway descents tend to do better with the Type 07 Brake Pads with Type SC Rotors Kit, which favors thermal stability over long, heavy stops. Every kit page lists exact vehicle fitment, so check your year, make, and model before ordering rather than guessing off a general part number. If you’re weighing pad material alongside rotor choice, our ceramic versus semi-metallic breakdown walks through which combination suits your driving conditions. Browse fitment on our product search and get the right kit ordered before your next brake job.
Sources
For deeper technical detail, review Baer’s installation and rotor direction guidance and Brembo’s notes on directional brake disc maintenance. For wheel surface care alongside your brake work, see this guide on protecting alloy wheels with ceramic coatings.
- Installation Procedures, Proper Rotor Direction, and Care — Baer
- Which way do I install my rotors? — Summit Racing Help Center
- Directional brake discs – Maintenance — Brembo