

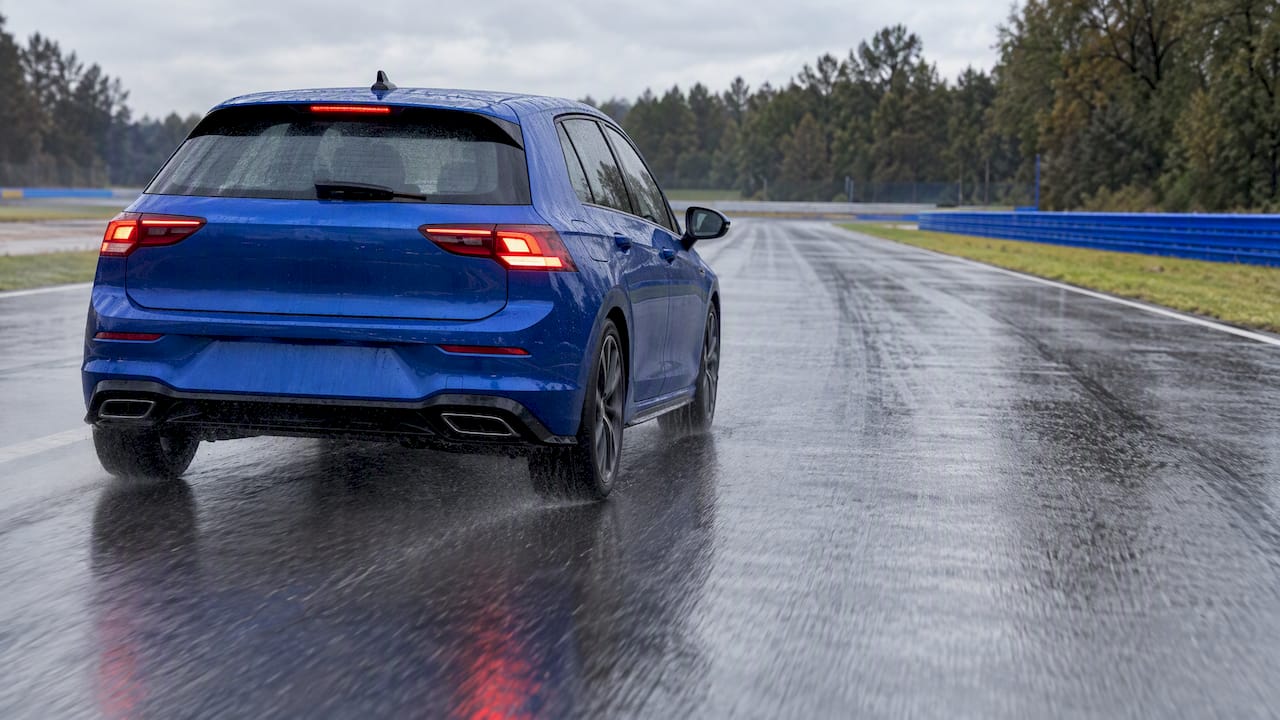
You can bed in new brakes in the rain, but you should do it differently, and in some cases you should wait. Bedding builds an even layer of pad material on the rotor face. Water on the rotor works against that, because it lowers friction and makes the heat you are trying to build harder to control. Light rain on a quiet road is workable. Heavy rain, standing water or a slick road is a reason to postpone.
This guide explains what bedding does, what rain changes, a careful step-by-step approach for wet days, and the mistakes that cause judder later.
TL;DR
- Bedding (also called break-in or burnishing) conditions new pads and rotors by laying down a thin, even transfer layer. NAPA Canada’s bulletin treats the three terms as the same process.
- Rain is not a disqualifier, but a water film acts as a lubricant on the rotor, so early stops feel weaker and you need more distance.
- The goal is gradual heat, not hard stops. Avoid triggering ABS or overheating the pads, which leads to uneven deposits and judder.
- If the road is flooded, slick or busy, bed in on the next dry day. Your pads will still work for normal driving in the meantime.
- Always follow the instructions from the pad and rotor maker. They outrank any general rule of thumb, including ours.
Table of Contents
- What brake bedding actually does
- What rain changes
- Should you bed in brakes in the rain?
- A careful wet-weather bedding routine
- Mistakes that cause trouble
- How rotor coating and pad design affect bedding
- Our perspective: bedding is part of wet-weather design
- Brake parts built for wet-weather driving
- After bedding: what normal wet braking should feel like
- FAQ
- Sources
What brake bedding actually does
A new pad and a new rotor do not match each other yet. Bedding is the controlled process that conditions both surfaces so friction material transfers evenly from the pad to the rotor. That thin transfer layer is what you want your brakes to grip against for the next several years.

When it goes well, you get a firm, predictable pedal and quiet stops. When it goes badly, pad material deposits unevenly. According to a Centric Parts technical bulletin, judder or vibration is almost always caused by uneven deposits that create thickness variation in the rotor, which can be only a few ten-thousandths of an inch. The same bulletin warns that once high spots form from uneven transfer, they can change the rotor’s metallurgy and create hard spots that are very hard to remove without replacing the rotor.
That is why bedding matters more than its reputation as an optional step suggests. It is a few minutes of driving that protects the whole job.
What rain changes
Rain changes three things at once.
Friction drops at first contact. Drivers in wet climates face reduced braking efficacy because water on the rotor acts as a lubricant rather than a friction surface. The first stops after the pads meet water are the weakest. We cover the mechanics in our guide to water on brake pads.
Your margin shrinks. Stopping distance in the wet is often cited as roughly half as effective as in the dry. Driving.ca reports that at 48 km/h a vehicle may need around 37 metres to stop in the wet, and that slowing to 32 km/h can cut that to about 18 metres. When you are also running freshly installed, unbedded pads, you want that extra room. Our piece on stopping distance in rain shows how to build the gap.
Heat is harder to manage. Bedding relies on controlled heat. Water carries heat away unevenly, so the rotor can cool in patches. Uneven cooling and uneven deposits are the combination you want to avoid.
There is a bright side. Rain also makes it easy to avoid the common bedding error of overheating, because you are working at moderate speeds with moderate effort anyway.
Should you bed in brakes in the rain?
Use this as a decision guide.
| Conditions | What to do |
|---|---|
| Dry road, light traffic | Ideal. Bed in as the pad maker instructs. |
| Light rain, damp road, quiet route | Workable. Use the wet-weather steps below and extra following distance. |
| Steady heavy rain, standing water, spray | Postpone. Drive gently and bed in on the next dry day. |
| Snow, slush or ice | Do not bed in. Traction is the priority, and you cannot control the stops. |
| Freezing temperatures with wet roads | Postpone. Wet rotors and cold pads give inconsistent early friction. |
In Canada, fall and spring often hand you exactly this dilemma: a set of pads installed on a Saturday and a week of rain ahead. The honest answer is that a few days of careful normal driving on unbedded pads is fine. A rushed bedding on a slick road is not.
A careful wet-weather bedding routine
The exact protocol depends on the pad material and your vehicle’s weight, so check the instructions that came with your parts first. What follows is the general principle used across the industry, adapted for wet roads.
Before you start
- Confirm the install is complete. Torque wheel fasteners to spec, check that the caliper slides move freely, and pump the pedal until it is firm before moving the car. Sticking slides cause uneven wear and uneven heat. Our caliper slide pin maintenance guide walks through it.
- Choose the route. You want a straight, quiet road with space to slow down gradually, ideally with no cars close behind you. An empty industrial road or a rural stretch beats a commuter artery.
- Check the wet-brake basics. After driving through deep water, the Manitoba Driver’s Handbook advises testing the brakes lightly, because they may pull to one side or may not work at all. Do that before you start any series of stops.
The routine
- Dry the surfaces first. Drive a few minutes at a moderate pace while applying the brakes very lightly now and then. This sheds the surface water film and starts warming the pads. Experts recommend this light application to clear moisture before it leads to surface corrosion or uneven wetting.
- Use the 30/30/30 idea as a reference point. According to the Centric bulletin, the “30/30/30” rule is a simplified reminder: 30 stops, from 30 mph (about 50 km/h), at 30 percent effort. In rain, treat it as a ceiling rather than a target. Use a lower speed and gentle pressure, and let the car slow smoothly.
- Space the stops. Leave enough time between stops to let heat build gradually, but not so long that the rotor cools fully and gets wet again from spray.
- Do not trigger ABS. If the pedal pulses, you have pushed too hard for a bedding stop. Ease off.
- Never stop and hold the pedal when hot. Bringing the car to a complete halt and holding the pedal firmly after a hard series of stops can imprint pad material on one spot of the rotor. Roll slowly instead, or shift to neutral and release the pedal at the end.
- Finish with a cool-down drive. Drive several minutes with minimal braking so the system cools evenly.
If a pad maker specifies a different number of stops or speeds, follow theirs. If the road is wet enough that you cannot complete the routine comfortably, stop and try again on a dry day. The process can usually be resumed.
Mistakes that cause trouble
- Treating rain as a reason to brake harder. Stabbing the pedal to “get heat in” invites ABS and uneven deposits.
- Skipping bedding because the pads are ceramic. Ceramic pads need a specific, consistent operating temperature to perform well. If they are not properly bedded to establish the transfer layer, the same bulletin notes they can feel inconsistent in early cold or wet starts until they reach that temperature band.
- Parking right after a wet, hot stop. A warm rotor sitting under a damp pad can leave a mark. Roll for a minute before shutting off.
- Mixing old and new surfaces without resurfacing. Replacing only pads on a worn, scored or corroded rotor makes an even transfer layer harder to achieve. If you are changing one part, check the other.
- Ignoring a soft pedal. A spongy or inconsistent pedal in rain after bedding points to something else: contaminated surfaces, a sticking caliper or fluid. Our guide to pedal feel in rain lists the checks.
How rotor coating and pad design affect bedding
The rotor surface matters as much as the pad. Coated rotors, for instance, typically come with their own break-in guidance because the coating on the friction face has to wear in. We have a separate guide to coated rotor bedding for Canadian DIYers who want the OEM-aligned approach in 10 to 15 minutes.
Pad design matters too. Pad chemistry, slot and chamfer layout and how quickly a pad clears water all change how it behaves in the first few wet stops. If you are weighing options, our pad selection guide lays out the criteria. If you are looking at a broader upgrade rather than a like-for-like swap, a tier-by-tier look at brake upgrades for performance cars helps you decide how far to go before you start thinking about bedding at all.
Our perspective: bedding is part of wet-weather design
We build braking parts around one problem: the first moments of a wet stop. Standard ceramic pads can show delayed bite and an uneven pedal feel in rain or humidity, and that is the gap our HydroAdaptive ceramic technology is engineered to close. The design aim is to clear moisture quickly and keep friction consistent as conditions change.
From that starting point, here is how we see bedding in the rain.
- A well-bedded surface is the foundation. No pad compound, ours included, replaces a clean, even transfer layer. Technology helps the system recover from moisture, but it works best when the surfaces are conditioned correctly.
- Treat the system as an ecosystem. Pads, rotors, calipers and lubricants all affect heat and moisture. A rotor with corrosion resistance, calipers that move freely in cold, and the right lubricant all keep the pad seating evenly.
- Consistency beats intensity. The goal is a stable friction profile across a wide temperature band. That comes from gradual, repeatable bedding, not from aggressive stops.
- Be honest about conditions. If the road is unsafe, wait. A day’s delay costs nothing. A poorly bedded rotor can cost a rotor.
We do not publish a universal procedure that overrides the instructions for your specific parts, and neither should anyone else. Use ours as the principle and the product instructions as the specification.
— AAA
Brake parts built for wet-weather driving
If you are about to replace pads and rotors before the wet season, start with the pads that match how you drive. Our Type 03 brake pads and Type 07 brake pads use HydroAdaptive ceramic technology. Pair them with SC Type rotors or GC Type rotors, or look at our ClimateFlex calipers for the full system. Kits are available for specific vehicles, such as the Type 03 pads with SC rotors kit. Match the part to your vehicle on the product page before you order.
After bedding: what normal wet braking should feel like
Once bedding is done, you should notice a firm, even pedal, no pulsing and no persistent squeal. In rain, expect a slight delay on the first stop after a long drive through spray, since a water film may have formed. Gentle early braking clears it, which is the same drying habit the Manitoba guidance describes. If you want a deeper walkthrough, see how to dry brakes while driving.
If stops feel weak or unpredictable even after you have bedded and dried the brakes, work through the checks in our guide to brakes slipping in rain and brake fade in rain. A persistent problem, a pedal that sinks, or a pull to one side is a job for a licensed mechanic. Do not keep driving on it.

FAQ
How do I break in new brake pads?
Follow the pad maker’s instructions first. In general, you condition the pads with a series of moderate stops that build heat gradually, then drive with minimal braking to cool the system. The goal is an even transfer layer on the rotor without triggering ABS or overheating the pads.
What is the 30/30/30 rule for brakes?
It is a simplified reminder for bedding: 30 stops, from 30 mph (about 50 km/h), at about 30 percent braking effort. Exact protocols vary by pad material and vehicle weight, so treat it as a starting point and defer to your parts’ instructions. In rain, use lower speeds and gentler pressure.
What happens if you drive with wet brakes?
Water on the rotor acts as a lubricant, so early stops are weaker and may pull to one side. After deep water, the Manitoba Driver’s Handbook advises testing the brakes lightly. Slow down, leave extra distance, and apply the brakes gently until they grip normally.
What is the downside to ceramic brake pads?
The common downside is not dry-weather performance but the need for a consistent operating temperature. Without proper bedding, ceramic pads can feel inconsistent in early cold or wet stops. Moisture-clearing designs like our HydroAdaptive pads aim to reduce that effect.
Sources
- Centric Parts technical bulletin C22-01
- Manitoba Driver’s Handbook: Wet Brakes
- Driving.ca: Top 10 tips for driving in rain
- NAPA Canada: Disc pad break-in, bedding-in and burnishing