

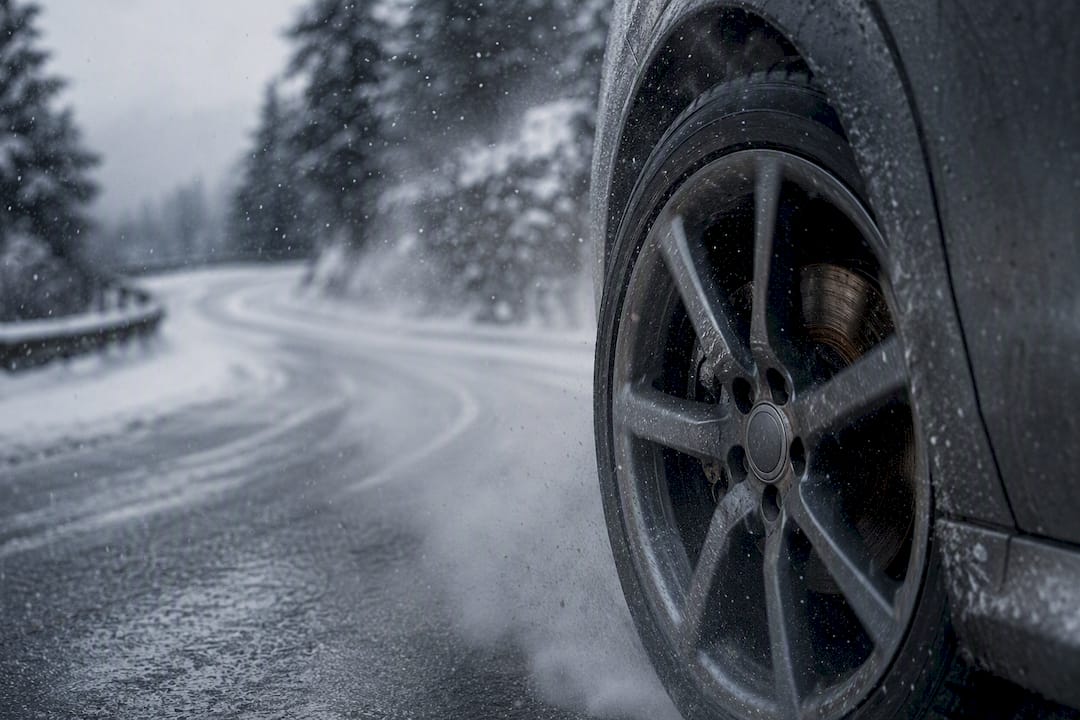
If your brakes start to fade on a winter downhill, shift to a lower gear immediately and let engine braking carry the load. Do not hold continuous light pressure on the pedal; that habit builds heat faster than it sheds it. If the pedal stays soft or the fade continues, signal, pull over where it’s safe, and let the system cool before you keep descending.
The mechanism behind this is straightforward: heat or moisture-contaminated fluid cuts into the friction or hydraulic pressure your brakes rely on, so the same pedal effort produces less stopping force. Watch for these signs on the way down:
- A pedal that feels soft, spongy, or sinks lower than normal
- Stopping distances that stretch out even with normal pedal effort
- A burning smell coming from the wheels
Two systems worth knowing before you need them: anti-lock braking (ABS), which prevents wheel lockup on slick surfaces, and Hill Descent Control, which automates low-speed braking on steep grades within a limited speed range.
Key Takeaways
Winter brake fade on a downhill comes from heat and moisture overwhelming a system, and the fix is engine braking, cadence control, and fluid checked before the season starts.
| Point | Details |
|---|---|
| Downshift before the grade | Use a lower gear or “L”/“2” before descending so engine braking, not the pedal, controls speed. |
| Avoid riding the brakes | Constant light pressure builds heat faster than short, firm bursts with cooling gaps between. |
| Watch for the warning signs | A soft pedal, longer stopping distances, or a burning smell mean it’s time to pull over and cool down. |
| Test brake fluid before winter | Moisture lowers the fluid’s boiling point, the exact weakness a long descent exposes. |
| Choose moisture-resistant parts | Aaafrictions HydroAdaptive ceramic pads and corrosion-resistant rotors are built to clear moisture and hold consistent friction through wet, snowy descents. |
Table of Contents
- Winter Brake Fade Downhill: What Brake Fade Actually Is
- Why Winter Downhill Driving Compounds the Risk
- How to Manage Downhill Braking in Winter Conditions
- Pre-Trip Checks That Prevent Winter Brake Fade
- Why Material Choice Matters for Winter Fade Resistance
- Our Take: Technique First, Then the Right Parts
- Get Winter-Ready Braking Built for the Descent Ahead
- Sources
Winter Brake Fade Downhill: What Brake Fade Actually Is
Brake fade is a drop in stopping power caused by heat buildup or fluid contamination inside the braking system. It’s not one problem. It’s three, and knowing which one you’re dealing with changes both how you respond behind the wheel and what a technician needs to fix afterward.
- Friction fade. Pad and rotor surfaces overheat and lose their grip on each other. A long grade with repeated hard stops is the classic trigger. Once the surfaces glaze over, pedal pressure stops translating into stopping force the way it should.
- Mechanical fade. Calipers fail to retract properly, or slide pins and hardware seize up. This traps heat in the system and can make one wheel drag or grab unevenly.
- Fluid or vapor fade. Brake fluid boils under sustained heat, and the vapor compresses instead of transmitting pressure. This produces the classic long, soft pedal.
Disc brakes generally dissipate heat better than drum brakes, which is one reason most passenger vehicles now pair front and rear discs. The overheating that drives all three fade types is also the root cause behind longer stopping distances, a soft pedal, vibration, and a burning smell, the signs Continental Tires flags as the clearest warning that something’s wrong.
Why Winter Downhill Driving Compounds the Risk
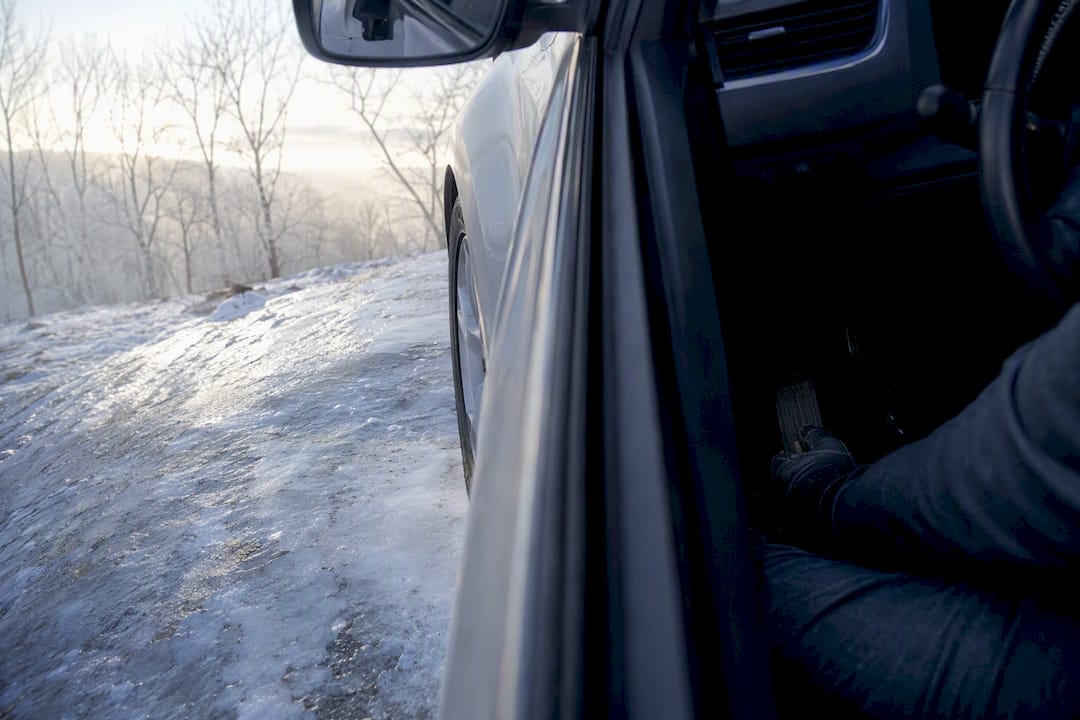
Every time you brake, you’re converting the vehicle’s kinetic energy into heat at the rotor and pad surface. On a flat road, that energy dissipates between stops. On a long, steep descent, it doesn’t get the chance. The energy stacks up faster than the system can shed it, and that’s true whether you’re driving a compact sedan or a loaded truck.
Winter adds four modifiers that make an already tough situation worse:
- Cold-stiffened seals and hoses slow caliper response and change how the pedal feels underfoot
- Moisture in the brake fluid lowers its boiling point, so a long descent can expose weak fluid well before summer conditions would
- Surface rust on rotors, common after sitting in slush or road salt, creates uneven contact until it wears off
- Reduced tire grip on snow or ice means longer stopping distances even when the brakes themselves work perfectly
Cold temperatures can stiffen seals and hoses, change how the first stops of the day feel, and cause ABS to pulse sooner than it would in warmer weather, according to Mechaniq’s analysis of cold-weather brake performance. That same moisture-contaminated fluid can lower the boil point enough that a long descent finds the weak point in your system before anything else does.
ABS and Hill Descent Control both help, but neither is a cure-all. ABS prevents wheel lockup, but frequent pulsing on a slippery surface usually points to limited tire grip rather than a brake problem. Hill Descent Control automates low-speed braking on grades, though it operates only within a limited speed range and stops helping once you exceed it or hit an icy patch steep enough to overwhelm tire traction.
How to Manage Downhill Braking in Winter Conditions
The order of operations matters here. Get the gear selection right first, and the rest of the descent gets a lot easier to manage.
- Downshift before the descent, not during it. In a manual, drop to a lower gear before the grade starts. In an automatic, select “L,” “2,” or the manual-shift gate if your vehicle has one, so engine braking does the bulk of the speed control instead of your pads.
- Pick a speed and hold it with the engine, not the pedal. Riding the brakes with steady light pressure is the single fastest way to build heat. It feels smoother, but it’s the opposite of what the system needs.
- Brake in short, firm bursts, then release. Scrub off speed with deliberate pressure, let off, and let air pass over the rotors before you brake again. This cadence approach gives the system a chance to cool between applications instead of holding heat continuously.
- If you feel fade developing, keep the wheel steady, downshift further, and ease off your target speed. Signal early, find a pullout or shoulder, and stop to let the brakes cool. Repeated panic stops on a fading system only accelerate the problem.
- Use ABS and Hill Descent Control as backup, not as your primary plan. They’re designed to be helpful at low speeds but are not a substitute for good technique or well-maintained brakes, and manufacturer documentation on systems like Downhill Brake Control notes real activation-speed limits and warning behavior you should know before you’re relying on it mid-descent.
Pro Tip: If your automatic has a tow/haul mode, engage it before the descent starts, not after you feel the pedal getting soft. Tow/haul remaps the transmission to hold lower gears longer, which means more of the descent’s energy gets absorbed by the engine instead of the brake pads.
Pre-Trip Checks That Prevent Winter Brake Fade
A few minutes under the hood and around the wheels before a mountain trip catches most of the problems that turn a routine descent into an emergency.
- Brake fluid. Moisture accumulates in brake fluid over time and lowers its boiling point, the exact vulnerability that a long winter descent exposes. Have it tested or flushed on the interval your manufacturer recommends, and don’t skip it just because the pedal still feels normal in the driveway.
- Pads and rotors. Check pad thickness against the minimum spec in your owner’s manual, and look for glazing, deep scoring, or rust pitting on the rotor face. Any of those reduce the consistent contact you need on a long grade.
- Calipers and hardware. Sticking pistons or corroded slide pins prevent pads from retracting fully, which traps heat and accelerates wear. A caliper that’s slow to release is a common winter finding worth catching before a descent, not during one.
- Tires and pressure. Winter tires and correct cold pressures directly affect how much of your stopping happens through the tire contact patch instead of asking the brakes to do all the work.
- Wash the salt off. Road salt accelerates corrosion on rotors and hardware. If you’re towing or carrying a heavy load, build in extra following distance and confirm how your vehicle’s downhill assist system behaves under load, since the manual’s stated operating range often changes with weight.
For a full checklist of what long-distance winter trips demand from your vehicle, this vehicle preparation guide for long trips covers the broader readiness picture beyond just the brakes.
Why Material Choice Matters for Winter Fade Resistance
Pad and rotor chemistry isn’t an afterthought in cold, wet conditions. It’s often the difference between a system that recovers quickly between braking events and one that stays compromised longer than it should.
Aaafrictions built HydroAdaptive Technology around that exact problem: clearing moisture rapidly from the pad and rotor interface so friction stays consistent through rain, slush, and snow instead of dropping off when conditions turn wet. A few specifics worth knowing:
- Ceramic pad formulations are engineered to hold a stable friction profile across a wider temperature band than standard compounds
- Corrosion-resistant rotor coatings resist the surface rust that forms after salted roads and slushy parking lots
- Consistent pad-to-rotor contact supports more predictable heat management on sustained descents
If you want the deeper mechanics of moisture and cold on your specific system, our guides on drying out wet brakes, clearing snow buildup, and testing brake fluid moisture walk through step-by-step fixes.
Our Take: Technique First, Then the Right Parts
The conventional advice on brake fade treats it as a driving-technique problem, full stop. Downshift, avoid riding the pedal, pull over if things go soft. That’s correct as far as it goes, but it skips half the equation. A driver using perfect technique on rusted rotors and three-year-old fluid is still gambling on a long winter grade.
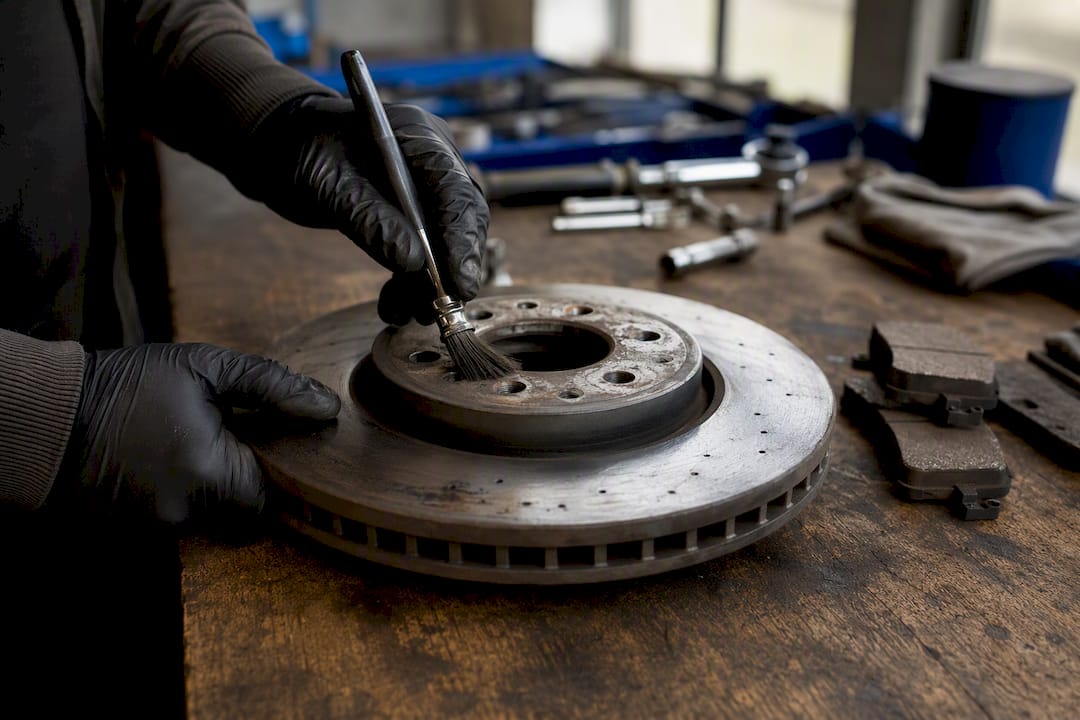
What we think gets underweighted is the fluid. Drivers check pad thickness because it’s visible. Nobody checks moisture content in their brake fluid because it’s invisible until the pedal goes soft at the worst possible moment, halfway down a grade with no shoulder in sight. That’s backward. The fluid is often the first thing to fail on a cold descent, and it’s the cheapest thing on this list to fix ahead of time.
Prioritize in this order: know your gear selection cold, get the fluid tested before the season starts, then confirm pads and rotors aren’t already compromised. Technique buys you margin. Maintenance is what keeps that margin from disappearing on the one descent where you need it most.
— AAA
Get Winter-Ready Braking Built for the Descent Ahead
Standard brake pads lose grip the moment moisture gets between the pad and rotor, exactly the condition a snowy or slush-covered descent creates. Aaafrictions built its ceramic pad and rotor kits around clearing that moisture fast, so the friction you get at the top of a grade is closer to the friction you still have at the bottom.

Every kit pairs HydroAdaptive+ ceramic pads with corrosion-resistant rotor coatings designed to resist the surface rust that builds up on salted winter roads. If you’re not sure whether ceramic or semi-metallic compounds suit your driving, our ceramic versus semi-metallic comparison breaks down the tradeoffs by vehicle type and climate. Find the right kit for your make and model on the Aaafrictions product search and get your braking system winter-ready before your next long descent.
Sources
- Brake fade – Wikipedia
- Brake fade: Causes, symptoms and how to help prevent it | Continental Tires
- Hill Descent Control|Honda Technology|Honda Global