

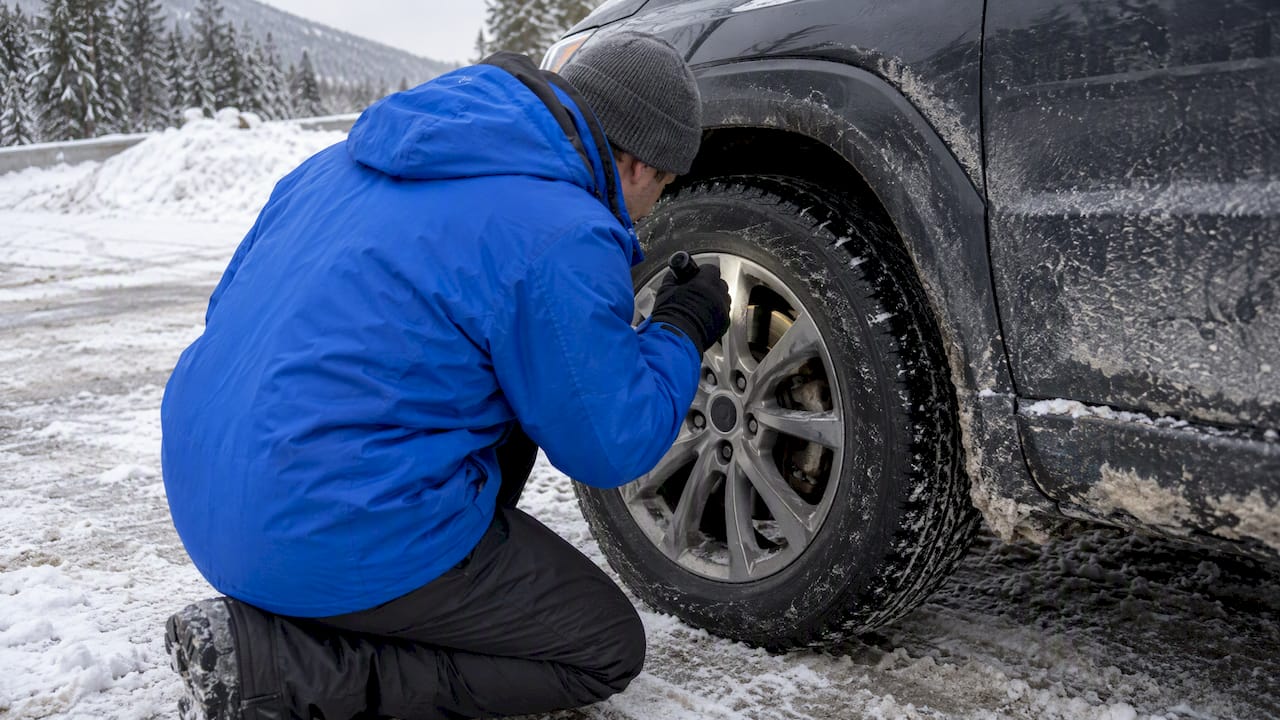
The single most important step is a pre-winter brake inspection that covers pads, rotors, calipers, and fluid, a recommendation Transport Canada backs with its own pre-winter vehicle guidance. Start with a brief visual check of pads and caliper pins this week. If you notice a soft pedal, grinding, or a fluid leak, book a trained technician before the first snow.
TL;DR:
- A thorough pre-winter brake inspection should include checking pad thickness, rotor condition, caliper slide pins, brake fluid clarity, and pedal behavior, especially before snow arrives.
- Salt and moisture from winter road treatments accelerate corrosion and can impair brake effectiveness, making early cleaning and inspection critical.
- Surface rust on rotors after overnight rusting is temporary and normal; persistent judder suggests rotor machining or replacement is necessary.
- Quick driveway checks—like inspecting pad edges, rotor rust, and caliper play—can identify early warning signs before professional service is needed.
- Upgrading to HydroAdaptive ceramic pads and compatible rotors designed for winter weather helps maintain consistent brake performance in salt-heavy, cold, humid conditions.
Table of Contents
- Pre-winter brake inspection checklist
- Why cold, salt, and moisture hit brakes hardest in winter
- Five-minute checks you can do in the driveway
- Maintenance habits that cut winter brake wear
- When a symptom means stop and call a shop
- How HydroAdaptive engineering addresses winter braking demands
- A season-start routine worth keeping
- Get winter-ready pads and rotors before the snow flies
- Sources
- FAQ
Pre-winter brake inspection checklist
A thorough inspection follows a logical order, whether you do it yourself or hand this list to a shop.
- Measure pad thickness. Compare inner and outer pads on each wheel; most manufacturers set a minimum safe thickness around 3 millimetres, and uneven wear between the two often signals a sticking caliper.
- Examine rotor faces. Look for rust build-up, deep grooves, or a lip at the outer edge, all signs that a rotor is due for resurfacing or replacement.
- Check caliper slide pins and boots. Pins should move freely and boots should be intact; a stuck pin causes one pad to wear faster than the other and can drag under braking.
- Inspect brake fluid level and colour. Fresh fluid is light and clear; fluid that has turned dark amber or shows cloudiness suggests moisture contamination and a flush is worth scheduling.
- Test parking brake and pedal feel. A spongy pedal, pulling to one side, or vibration under braking are red flags that point to air in the lines, uneven pad wear, or rotor issues.
A basic runout check does not require removing the wheel: turn the steering slowly and look through the spokes for a wobble in the rotor face, which can hint at warping or heavy corrosion buildup.
Pro Tip: Keep a small flashlight in your glovebox. A quick look through the wheel spokes before a road trip takes seconds and often catches a problem early.
Caliper pin lubrication and boot condition go beyond a casual glance, and cleaning corrosion from slide pins without disturbing the boot seal takes a steady hand, so this step is often best left to a shop with the right tools.

Why cold, salt, and moisture hit brakes hardest in winter
Winter does not just make roads slippery; for Canadian fleets, choosing fleet warning lights that hold up can also improve roadside visibility and safety in harsh conditions. It changes how brake components behave and how fast they wear.
- Road crews apply an estimated 4.75 million tonnes of sodium chloride and 0.1 million tonnes of calcium chloride to roads across the country each year, and that salt accelerates corrosion on rotors, calipers, and hardware.
- Cold and moisture change how pads first grip the rotor, and SAE research found that brake pad effectiveness and stopping performance can degrade in cold, humid conditions, sometimes producing a delayed initial bite or new squeal.
- Water that gets into caliper slides or parking brake mechanisms can freeze overnight, jamming components that worked fine the day before.
- A rotor that feels warped after sitting overnight is often coated in a thin rust layer rather than truly bent: technical studies on rotor corrosion show that oxide layers can cause a transient judder while the pads clean the rust off during the first few stops.
Salt use on winter roads is heavy: roughly 4.75 million tonnes of sodium chloride go down annually, which is why rotors and hardware that sit exposed through a full winter show more pitting than those cleaned and inspected regularly.
If judder clears within a few stops after your vehicle has sat overnight, that points to surface rust rather than true rotor runout. Judder that persists after normal driving suggests machining or replacement is the better fix, a distinction worth confirming with a check for warped rotors before assuming the worst.

Five-minute checks you can do in the driveway
You do not need a lift or specialty tools to catch the early signs of trouble.
- Set the parking brake and chock the wheels before you get near any wheel, and never rely on a jack alone to hold the vehicle up.
- Look through the wheel spokes at each rotor face for heavy rust, deep grooves, or an obvious lip at the rotor’s edge.
- Check the pad edge where it meets the rotor; a pad that looks thinner than a nickel is close to the safe limit.
- Wiggle the caliper gently by hand if it is accessible, feeling for excess play or resistance that suggests a stuck slide pin.
- Take a short, slow test drive on an empty street and brake gently, noting any pull, vibration, or a pedal that sinks lower than usual.
If everything looks clean and the pedal feels firm, you are fine to monitor and recheck in a month. If you see heavy rust that does not clear after a few stops, or the pedal feels soft, that is your signal to book a shop visit rather than wait.
Maintenance habits that cut winter brake wear
A few routine habits go a long way toward keeping brakes reliable through a full winter.
- Rinse the undercarriage when practical after driving through heavy salt, focusing on the wheel wells and caliper area.
- Lubricate caliper slide pins with a high-temperature, salt-tolerant grease during any pad service, since dried-out pins are one of the most common causes of uneven wear.
- Choose corrosion-resistant hardware and matched pad and rotor materials when replacing parts, since mismatched friction materials can wear unevenly and shorten the life of both components.
- Replace brake fluid on the schedule your manufacturer recommends, since brake fluid is hygroscopic and absorbs moisture over time, and consider an earlier flush if you notice a spongy pedal or fluid that looks discoloured.
- Increase following distance and use engine braking on long descents to reduce how hard your brakes work on slippery surfaces, a habit Transport Canada points to as important as any hardware upgrade.
Pro Tip: A rinse after a heavy salt application, even a quick one at a self-serve car wash, removes most of the corrosive residue before it has time to work into hardware.
Corrosion-resistant coatings on rotors and calipers, discussed in more detail in this guide to caliper corrosion, are worth considering at your next parts replacement if you drive through heavy salt exposure every winter.
When a symptom means stop and call a shop
Some signs mean the car needs attention immediately, not next week.
- Book a shop visit right away if you feel a soft or low pedal, notice heavy pulling to one side, hear grinding metal on metal, see a fluid leak near a wheel, or smell or see smoke from a brake.
- Schedule a visit within a few days if squealing persists after cleaning the wheels, or if rotor rust does not clear after normal driving.
- If you hear grinding, stop driving and arrange a tow or a slow, careful drive directly to a shop rather than continuing to use the vehicle.
Transport Canada recommends having a trained technician inspect brakes before severe winter weather arrives, since cold-weather driving raises the demands placed on every part of the system.
How HydroAdaptive engineering addresses winter braking demands
A certain HydroAdaptive ceramic technology is designed to address the specific problem winter creates: moisture and cold changing how a pad grips a rotor from one stop to the next. The formulation aims to clear moisture quickly and maintain consistent friction across wet, snowy, and humid conditions, addressing the delayed bite and inconsistent pedal feel that standard ceramic pads can show in those same conditions.
A winter-ready pad and rotor pairing is worth considering if any of these apply to you:
- Your vehicle sees heavy salt exposure for several months each year.
- You have gone through repeated cycles of rust build-up and cleaning on the same rotors.
- You have noticed a recurring soft or inconsistent pedal feel that a basic inspection has not fully resolved.
Details on the formulation itself are covered on our technology page, and drivers comparing options for their next replacement can review matched winter brake upgrades to see how pads, rotors, and hardware work together as a system.
A season-start routine worth keeping
Every winter starts the same way for me: a quick pad and pin check in the driveway, a look at the fluid, and a road test before the first real snowfall. That combination catches most problems early, but it does not replace a trained set of eyes once a year. Pair your own checks with a professional inspection, and replace worn parts before a storm forces the issue.
— AAA
Get winter-ready pads and rotors before the snow flies

Waiting until pads are paper-thin or rotors are pitted means dealing with a repair on the coldest week of the year instead of on your own schedule. Certain Type 03 and Type 07 pad lines, along with SC Type and GC Type rotors, are based on HydroAdaptive ceramic technology, engineered to clear moisture fast and hold consistent friction through rain, slush, and cold.
- Type 03 Brake Pads: a HydroAdaptive ceramic option suited to daily winter driving.
- Type 07 Brake Pads: an additional HydroAdaptive line for matched full-kit options.
- SC Type and GC Type Rotors: rotor lines designed to pair with either pad line for consistent wear.
| Component | Best suited for |
|---|---|
| Type 03 Brake Pads | Drivers replacing pads only, standard winter exposure |
| Type 07 Brake Pads | Drivers building a matched front-and-rear kit |
| SC Type Rotors | Pairing with either pad line for semi-coated corrosion resistance |
| GC Type Rotors | Pairing with either pad line where GEOMET coating fits the vehicle |
If your rotors are pitted or scored along with worn pads, a full kit through Type 07 Brake Pads matched with SC Type Rotors or GC Type Rotors keeps friction and rotor surfaces working together instead of guessing at compatibility. Check fitment on the Type 03 Brake Pads page or reach out through our technology if you have questions about which combination fits your vehicle.
Sources
- Preparing your vehicle for winter — Transport Canada
- Tidcf
- Proposed test method for brake pad lining robustness in cold conditions — SAE
FAQ
Is replacing brake fluid really necessary?
Yes. Brake fluid absorbs moisture over time, and that moisture lowers its boiling point and can lead to a spongy pedal, so following your manufacturer’s replacement schedule protects consistent braking, especially heading into winter.
What is the 30/30/30 rule for brakes?
This is not a standard automotive term referenced by manufacturers or safety regulators, and no official source defines it as a brake maintenance rule. If you have seen it elsewhere, it is worth confirming the source before treating it as guidance.
Can I spray WD-40 on my brake pads to stop squeaking?
No, spraying a lubricant on pads or rotors is not a safe fix and can contaminate the friction surface, reducing stopping power. Squealing after cold or wet exposure is often related to surface rust or debris and is better addressed with a proper inspection.
At what temperature will brake fluid freeze?
Standard brake fluid does not freeze at temperatures drivers encounter on the road; its main cold-weather risk is moisture contamination raising the risk of vapour or reduced performance rather than freezing solid. A fluid flush on schedule, checked during a pre-winter inspection, addresses this risk directly.