

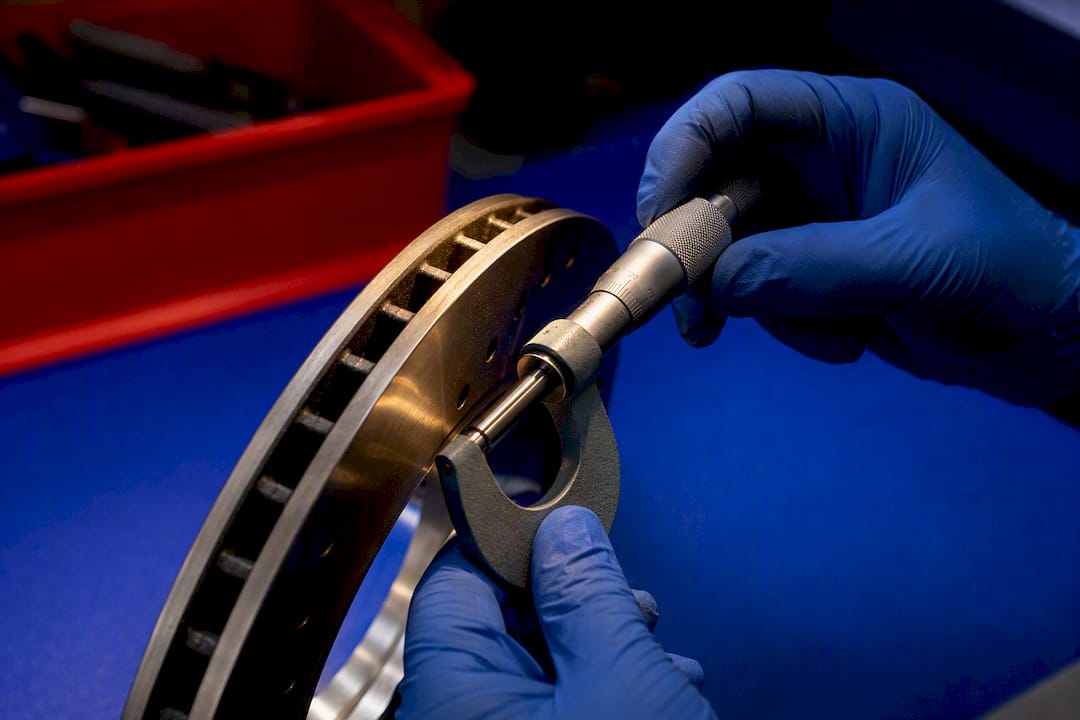
The rotor’s minimum, or discard, thickness is the manufacturer’s absolute limit for safe use. Measure the thinnest point of the rotor with a micrometer, checking several spots around the disc, and replace it if any single reading is at or below that number. You’ll find the discard spec stamped on the rotor hat or listed in your owner’s manual, and a safety-minded driver treats that number as a floor, not a target.
TL;DR:
- Always verify the rotor’s minimum discard thickness spec either stamped on the rotor or from a reliable service database before measuring.
- Measure rotor thickness at multiple points around the disc with a precise micrometer, and replace if any reading is at or below the specified limit.
- Check for excessive runout and disc thickness variation separately, as thickness alone does not indicate potential vibrations or pulsation.
- Replace rotors promptly if any point measures at or below the discard thickness to avoid compromised braking performance and safety risks.
- Regularly measure rotor thickness during pad replacements and inspect visually for surface damage, especially if experiencing brake pulsation or soft pedal issues.
Table of Contents
- Where to Find the Minimum Rotor Thickness Spec
- How to Measure Rotor Thickness Correctly
- Why Rotor Runout and Thickness Variation Matter Too
- When Rotor Wear Crosses the Safety Line
- Resurfacing vs. Replacing: Where the Line Falls
- How Often You Should Check Rotor Thickness
- Backed by Technical Resources You Can Verify
- Get a Rotor You Won’t Have to Second-Guess
- What This Process Actually Rewards
- Sources
Where to Find the Minimum Rotor Thickness Spec
Before you measure anything, you need the correct target number. Guessing at “how thin is too thin” gets drivers into trouble, because discard thickness varies by vehicle, rotor design, and even trim level.
Most manufacturers stamp the minimum thickness directly into the rotor hub, though some place it on the outer edge instead. Corrosion, brake dust buildup, or a previous machining job can obscure or wear away that stamp, which is why a second source matters. Rotor specifications published through platforms like Mitchell1’s shop data give technicians a reliable cross-check when the physical stamp is unreadable.
Run through this quick checklist before you measure:
- Look for a stamped number on the rotor hat or outer casting.
- If it’s missing or corroded, pull the spec from your owner’s manual.
- Cross-reference by VIN or rotor part number in a service database if you’re still unsure.
- Write the number down before you start measuring, so you’re not second-guessing yourself mid-inspection.
How to Measure Rotor Thickness Correctly
Getting an accurate reading isn’t complicated, but it does require the right tool and a consistent method. A dial or digital brake rotor micrometer is the standard here. It clamps around the rotor face and gives a precise reading down to fractions of a millimeter. A caliper can get you in the ballpark, but calipers introduce enough measurement error that they’re not reliable for a discard decision. When you’re deciding whether a rotor stays on the car or comes off, you want a tool built for that exact job.
Here’s the process we recommend, step by step:
- Park on level ground, chock the wheels, and remove the wheel to expose the rotor.
- Wipe down the rotor face and knock off any loose surface rust at the spots you plan to measure.
- Position the micrometer roughly 10 mm (about 0.4 inches) in from the outer edge, avoiding the lip or ridge that forms there from pad contact.
- Take a reading, then rotate the rotor and repeat at 6 to 8 equidistant points around the disc, roughly every 45 degrees.
- Record every reading and identify the smallest one.
- Compare that minimum reading against the stamped or OEM discard thickness.
- If any single point is at or below discard thickness, replace the rotor. If every reading sits comfortably above it, you’re fine for now.
Taking multiple points matters because rotors rarely wear evenly. A reading near the hub can look fine while a spot near the friction track is dangerously thin. Measuring at 6 to 8 points and comparing to the manufacturer’s minimum specification catches that kind of uneven wear that a single spot check would miss entirely.
Pro Tip: Keep a small notepad or your phone handy and jot down all 6 to 8 readings before comparing anything. It’s easy to convince yourself the “average” looks okay when the real danger is hiding in your single lowest reading.
Some shops also calculate total thickness variation, which is simply your highest reading minus your lowest. That figure feeds into diagnosing pulsation, which is a separate issue from raw thickness.
Why Rotor Runout and Thickness Variation Matter Too
Thickness alone doesn’t tell the whole story. A rotor can measure comfortably above its discard spec and still cause a shudder in the brake pedal or steering wheel. That’s usually a sign of lateral runout or disc thickness variation (DTV), not a thin rotor.
Lateral runout is the wobble a rotor makes as it spins, measured with a dial indicator against the rotor face. Many passenger vehicles tolerate runout around 0.002 inches (0.05 mm), though the exact allowance varies by OEM. DTV, meanwhile, is the difference between the thickest and thinnest points on the same rotor, and even small variations can telegraph into a pulsating pedal.
The key distinction: pulsation frequently comes from DTV or excessive runout rather than from a rotor that’s simply worn thin. That means a thickness check with a micrometer won’t catch a runout problem, and a runout check won’t catch a thickness problem. You need both:
- Use the micrometer procedure above for thickness and discard decisions.
- Use a dial indicator mounted to the hub or caliper bracket to check for runout.
- Map both results together before you diagnose a shudder or vibration complaint.
When Rotor Wear Crosses the Safety Line
The decision rule is simple: any measured point at or below the manufacturer’s discard thickness means replacement, no exceptions. Some technicians build in a small safety buffer, replacing a rotor once it gets within a millimeter or two of the limit rather than waiting until it crosses the line exactly.
There’s a real mechanical reason for that caution. Discard thickness is calculated with piston travel and hydraulic integrity in mind, and running a rotor below that limit can affect how far the caliper piston has to travel, which in turn affects pedal feel and, in severe cases, stopping power. A rotor worn too thin also sheds heat less effectively, raising the risk of warping or cracking under hard braking.
Watch for these symptoms, which warrant an inspection regardless of your last measurement:
- A soft or unusually low brake pedal.
- Vibration or pulsation felt through the pedal or steering wheel.
- Visible cracks, deep grooves, or heavy pitting on the rotor face. If you’re seeing surface damage like this, our breakdown of rotor pitting walks through what’s cosmetic and what’s a genuine safety concern.
Resurfacing vs. Replacing: Where the Line Falls
There are three numbers worth knowing on any rotor: nominal thickness (what it measured new), machine-to thickness (the minimum thickness a shop can leave after resurfacing), and discard thickness (the absolute floor). Machining always has to leave the rotor above discard thickness, with margin left over, and composite or hardened rotors typically allow even less material removal per side than solid cast rotors do.
A practical way to work through the decision:
- Measure current thickness at multiple points, as outlined above.
- Compare your minimum reading to both the machine-to and discard specs.
- If there’s enough margin above machine-to thickness, resurfacing may restore a smooth pedal feel.
- If the rotor is close to discard, has deep pitting, visible cracks, or is a composite design with limited machining allowance, skip resurfacing and replace it. Our guide on replacement costs can help you weigh that decision against your budget, and Express Lube’s breakdown of rotor replacement service covers what a typical shop visit for this job looks like.
How Often You Should Check Rotor Thickness
Check rotor thickness every time you replace brake pads. That’s the natural checkpoint, since the wheel is already off and the rotor is exposed.
Beyond pad changes, a reasonable starting interval is every 30,000 to 50,000 miles for a full measurement check, with a quick visual inspection more often if you notice unusual noise or pedal feel. Always defer to your owner’s manual for the manufacturer’s specific recommendation, since intervals vary by vehicle and driving conditions.
- Measure at every pad replacement, no exceptions.
- Do a visual check (looking for grooves, rust, or pitting) at every oil change or routine service.
- Get a professional inspection immediately if you notice pulsation, grinding, or a soft pedal, regardless of mileage.
Backed by Technical Resources You Can Verify
Aaafrictions builds braking components with HydroAdaptive ceramic technology, and that engineering work starts with understanding exactly how rotors wear and fail. Our technical library covers related topics like best rotor brands for safety and longevity, giving readers a deeper look at construction differences that affect wear patterns. For broader technical reference, our full resource library collects the kind of documentation that backs up the measurement and safety guidance covered here.
Get a Rotor You Won’t Have to Second-Guess
Ready to replace a rotor rather than gamble on a marginal reading? Aaafrictions builds GC-coated rotors designed to resist the corrosion that hides discard stamps and accelerates thinning in the first place. Browse our full lineup of HydroAdaptive brake kits to find a pad and rotor set matched to your vehicle before your next service.
What This Process Actually Rewards
Most articles on this topic treat measurement as a formality, something you do once and forget. That’s backwards. The real value of checking minimum rotor thickness isn’t the single measurement, it’s the habit of measuring the same way, at the same points, every time you have a wheel off.
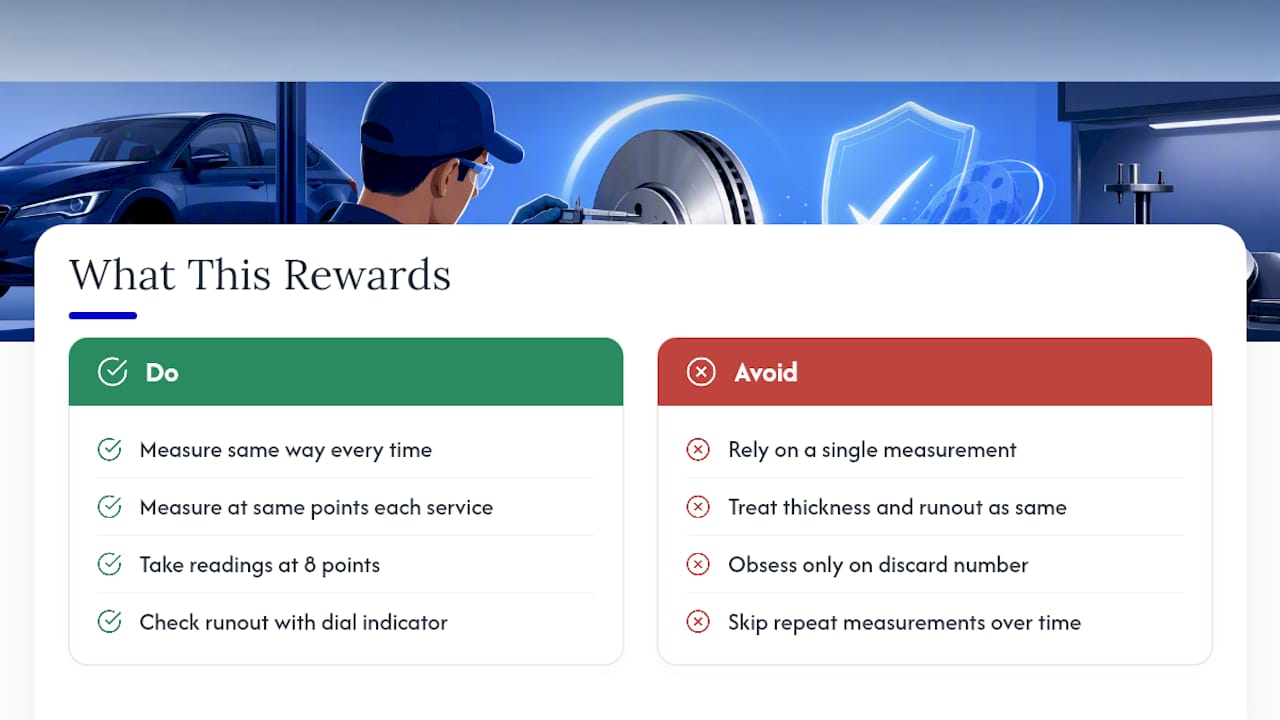
Where conventional advice falls short is in treating thickness and runout as one problem. They’re not. A rotor can pass every thickness check and still shake your steering wheel at 60 miles an hour because nobody bothered to check runout with a dial indicator. We’d argue the industry’s obsession with a single discard number, while necessary, has crowded out attention to DTV, which causes more comebacks in real shops than outright thin rotors do.
If you take one thing from this guide, prioritize consistency over precision. A slightly imperfect micrometer technique applied at 8 points every single service beats a perfect single reading taken once and never repeated. Rotors don’t wear evenly, and the only way to catch that is to keep checking the same way, every time.
— AAA
Sources
For vehicle-specific discard thickness numbers, always check your service manual or dealer data first. Beyond that, Mitchell1’s rotor specification data, VehicleServicePros’ measurement guidance, and manufacturer references like Brembo’s minimum thickness guidance are solid places to confirm your findings.
- Brake Rotor Specs: Measurement and Service Techniques
- Rotor Specifications
- Brake rotor specs, measurement and service techniques
- How Thick Should A Brake Rotor Be? (And How Do You Measure It?)