

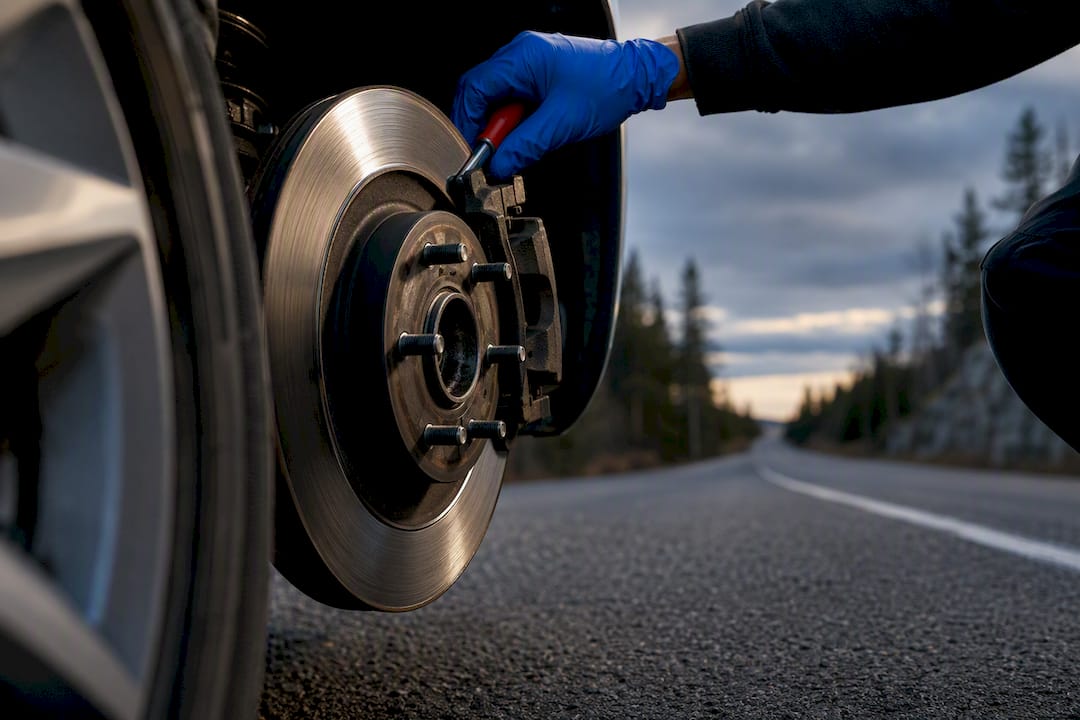
Bed new coated rotors with a controlled series of moderate decelerations, never a full stop, spacing each cycle with a cooling gap, so the pads and rotor surface build an even friction layer together. Do this on a quiet, low-traffic road at a safe speed. You’ll know it worked when the pedal feels firm and consistent, with no pulsing, on your first few real-world stops.
TL;DR:
- Bedding coated rotors correctly ensures a stable transfer layer and prevents uneven pad wear, vibrations, or noise during braking.
- Use controlled deceleration techniques on a safe, traffic-free road, with proper spacing and cooling periods between stops to avoid glazing.
- Confirm wheel torque, pad compatibility, and rotor cleanliness before bedding, and avoid aggressive cleaning or abrupt cooling methods that can damage coatings.
- A properly bedded rotor shows an even, matte transfer layer, and a firm pedal with consistent bite indicates successful transfer and seating.
- Matching pad and rotor coatings from the start improves bedding reliability, especially in harsh conditions like rain, snow, and road salt.
Table of Contents
- What Does Coated Rotor Break In Actually Accomplish?
- How Do You Break In Coated Brake Rotors Step by Step?
- Getting Ready: Pad Pairing and Mistakes to Avoid
- How Do You Know Bedding Worked?
- AAA Frictions’ Take on Getting Bedding Right
- Why Most Bedding Advice Misses the Point
- Where to Find Matched Pad and Rotor Kits
- Sources
- FAQ
What Does Coated Rotor Break In Actually Accomplish?
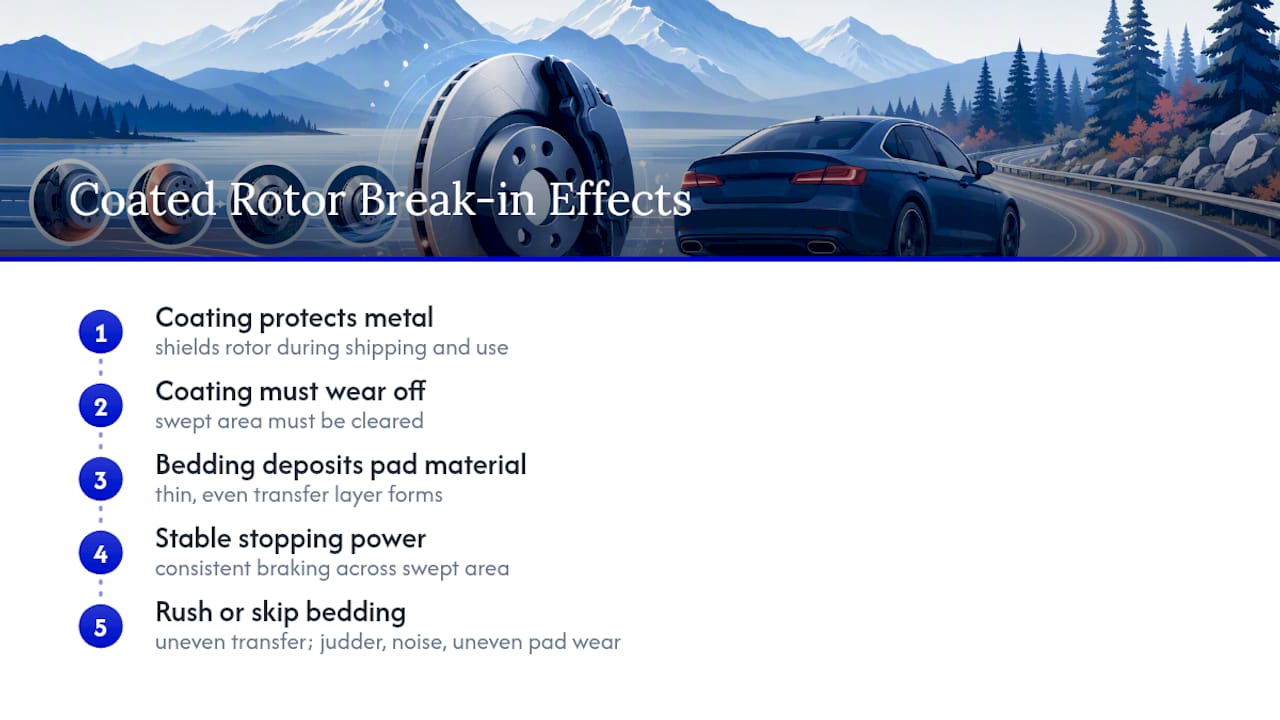
Bedding transfers a thin, even layer of pad material onto the rotor’s face. That layer is what actually stabilizes stopping power. Without it, the pad grabs unevenly, spot by spot, instead of across the full swept area.
Coated rotors add a wrinkle to this process, which is why it’s important to understand how to protect alloy wheels with ceramic coatings to maintain durability and performance. The coating exists to protect bare metal from corrosion during shipping, storage, and everyday driving, but it has to wear off the swept area before a proper transfer layer can form underneath it. Coating method and thickness change how quickly that happens and how the rotor behaves during the first few stops, which is why coating durability and friction stability vary by process.
Skip the break-in step or rush it, and you risk an uneven transfer layer. That shows up later as brake judder, a vibrating pedal, groaning noise, or pads that wear faster on one side than the other. None of that is a defect in the parts. It’s a bedding problem.
How Do You Break In Coated Brake Rotors Step by Step?
Before you turn a wheel, run through a short checklist. Confirm wheel lug torque matches the manufacturer’s spec (most passenger vehicles fall in the 80 to 100 lb-ft range, but always check your vehicle’s manual), verify the pads are the compatible friction type for that rotor coating, and check that nothing, no oil, no grease, no assembly lube, has contaminated the pad face or rotor surface. A single greasy fingerprint on a pad can glaze it before you even leave the driveway.
With that confirmed, find a straight stretch of road with no traffic behind you. You have two solid approaches, and which one you pick depends on your pads, your coating, and how much safe road you have access to.
- The high-cycle method. Accelerate to roughly 30 to 35 mph, then brake moderately down to about 5 to 10 mph without coming to a full stop. Repeat this numerous times, as recommended by the rotor manufacturer. This mirrors PowerStop’s published routine for Geomet-coated Evolution rotors, and it’s the gentler option on heat buildup per cycle.
- The high-energy method. If you don’t have a long, uninterrupted stretch of road, use fewer stops with more braking force each time, typically 8 to 10 firmer decelerations from a similar speed range. This method builds the transfer layer faster per stop, so it demands closer attention to cooling between cycles.
- Space out every cycle. Leave roughly 20 to 40 seconds, or a similar distance at low speed, between each deceleration so the rotor sheds heat before the next one. Skipping this step is the fastest way to glaze a pad instead of bedding it.
- Cool down fully after the run. Once you’ve finished the sequence, park and let the brakes sit for at least 15 to 20 minutes before driving hard again or parking on an incline with the brake held.
If traffic forces a full stop mid-sequence, shift into neutral rather than holding the brake pedal down, and avoid resting your foot on the brake at a red light. A held brake at a stop concentrates heat in one spot on the rotor face, which is exactly the uneven wear pattern you’re trying to avoid. If your car’s ABS kicks in during a hard stop, that’s the system doing its job. Ease off and continue the sequence once you’re clear.
Expect a faint resin smell and a bit of light smoke during the first several cycles. That’s normal as the coating and initial pad material burn off. Heavy smoke, a burning rubber odor, or a pedal that suddenly goes soft are not normal. Pull over safely, let everything cool, and inspect before continuing.
Pro Tip: Pick your bedding route before you install the rotors, not after. A quiet frontage road or an empty industrial park loop with no stop signs for a mile or two makes the high-cycle method far easier to execute safely.
Getting Ready: Pad Pairing and Mistakes to Avoid
Manufacturer instructions come first, always. If the pad or rotor maker specifies a cleaning or scuffing step, follow it exactly. If they don’t say to touch the coating, leave it alone. Most coatings on the swept area are engineered to wear away naturally during those first bedding cycles.
Where prep is warranted, keep it gentle:
- Mild soap and water removes shipping oils or handling residue without touching the coating layer underneath.
- Avoid aggressive solvents, brake cleaner sprays directly on the coating, or sanding, unless the pad maker explicitly calls for a garnet paper or Scotch-Brite style scuff.
- Ordinary sandpaper or shop abrasives can leave grit embedded in the rotor surface, and that grit transfers straight into your new pads, causing noise and premature wear from day one.
- Never pour or spray water on hot rotors to cool them faster. Rapid thermal shock can crack a rotor or warp it, and it can also compromise the coating’s protective layer around the swept area.
- Avoid resting your foot on the brake pedal while the rotor is still hot from installation test drives or the bedding run itself.
Coating chemistry differs by process, whether it’s a phosphate pretreatment, a zinc layer, or a full Geomet application, and patent filings on rotor coating methods show why masking and application technique change how a given coating behaves once pads start engaging it.
How Do You Know Bedding Worked?
Pull a wheel after the run and look at the swept area. A properly bedded rotor shows an even, matte gray transfer layer across the full face, with no shiny hot spots or blotchy discoloration. Glazing looks glassy and often appears in a ring or patchwork pattern rather than uniformly.
Drive it and pay attention:
- A firm, consistent pedal with predictable bite at moderate stops means the transfer layer is doing its job.
- No pulsing or vibration under normal daily braking is a good sign the pads are seated evenly.
- Pulsing or a shuddering pedal usually points to lug torque that’s uneven, rotor runout, or pads that didn’t seat flush. Recheck torque with a proper wrench first, since that alone fixes a surprising number of judder complaints.
- If torque and runout check out but the judder persists, a partial re-bed often resolves light glazing. Deep grooves, cracked coating, or hardware that’s seized in the caliper bracket call for a shop inspection instead.
AAA Frictions’ Take on Getting Bedding Right
Coated rotors face a real problem in Canadian driving conditions: rain, road salt, and temperature swings all attack bare metal fast. That’s part of why we built HydroAdaptive technology around clearing moisture quickly and keeping friction consistent, whether a driver is braking on a dry August afternoon or a slushy January commute.
Bedding still has to happen correctly regardless of coating type, and mismatched pad and rotor pairings are one of the most common reasons a bedding routine goes sideways. That’s why we engineer our Type 07 pad and GC rotor kits as matched sets from the start, so the friction material and coating are designed to work together during that first critical break-in run.
Why Most Bedding Advice Misses the Point
Most bedding guides treat every coated rotor the same way, and that’s the core mistake. A Geomet-coated rotor, a zinc-plated rotor, and a phosphate-treated rotor don’t shed their coatings identically, so a single rigid “do 30 stops” rule doesn’t serve every driver well. The number matters less than the principle: controlled heat, controlled cooling, no full stops, no shortcuts.
We think the DIY community also underrates prep. Drivers obsess over stop counts and skip the five-minute check of torque specs and pad compatibility that prevents most judder complaints before they start. Bedding technique gets the credit or blame, when a loose lug nut or a mismatched pad compound is often the real culprit.
If you take one thing from this, prioritize matching your pads to your rotor coating before you worry about exact cycle counts. A well-paired kit forgives small variations in your bedding routine. A mismatched pair won’t, no matter how carefully you count decelerations.
— AAA
Where to Find Matched Pad and Rotor Kits
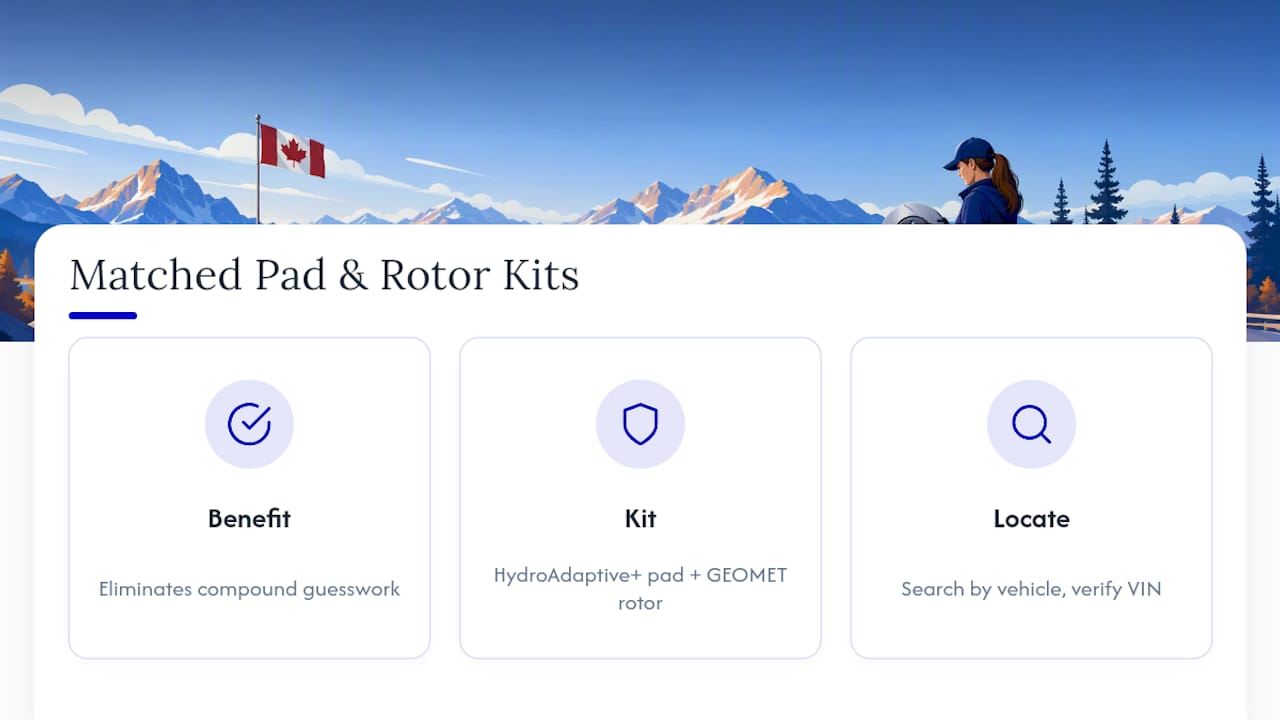
Guesswork about which pad compound suits which coated rotor is exactly what a matched kit eliminates. Some manufacturers build pad and rotor sets so the friction material and the coating are designed for each other from the first bedding cycle, not figured out through trial and error on your driveway.

Our Type 07 pad and GC rotor kits pair HydroAdaptive+ ceramic pads with GEOMET-coated rotors engineered to shed moisture fast and hold consistent bite through rain, slush, and cold. If you’re deciding between coating types for your vehicle, our breakdown of coated versus plain rotors for Canadian roads walks through the tradeoffs in plain language. Want the technical detail behind how the ceramic formulation manages moisture at the pad face? Read through our HydroAdaptive technology page.
Not sure which kit fits your make and model? Use our vehicle fitment search to find the matched pad and rotor set built for your car, then check it against your VIN before you order.
Sources
For manufacturer-style break-in procedures, see PowerStop’s coated rotor guide. For coating chemistry and durability research, see this review of brake disc coating solutions.
- Coating solutions for enhancing automotive brake disc durability against corrosion and wear—a review
FAQ
Do coated brake rotors actually make a difference?
Yes. Coatings, whether zinc, phosphate, or Geomet, slow corrosion significantly on the non-swept rotor surface, which keeps rotors looking cleaner and resists rust during storage, shipping, and wet-weather driving, though coating performance varies by process.
How long does it take to break in rotors?
A typical bedding run takes 10 to 15 minutes of active driving with several controlled decelerations, followed by a 15 to 20 minute cool-down before normal driving resumes.
Do you need to clean coated rotors before installing them?
Only if the pad or rotor manufacturer specifically instructs it. Most coatings on the swept area are designed to wear off during the first bedding cycles, so a light wipe with mild soap and water to remove shipping oils is usually all that’s needed.
How do I break in coated PowerStop-style rotors?
Run several moderate decelerations from about 30 mph down to 5 to 10 mph without fully stopping, spacing each cycle with a short cooling gap, then let the brakes cool completely before driving normally. This mirrors PowerStop’s own published routine for its coated Evolution line.
What if I feel judder after bedding my new rotors?
Check wheel lug torque first, since uneven torque is a common cause of pedal pulsation that gets mistaken for a bedding failure. If torque is correct, inspect for rotor runout or consider a partial re-bed before assuming the parts are defective.