

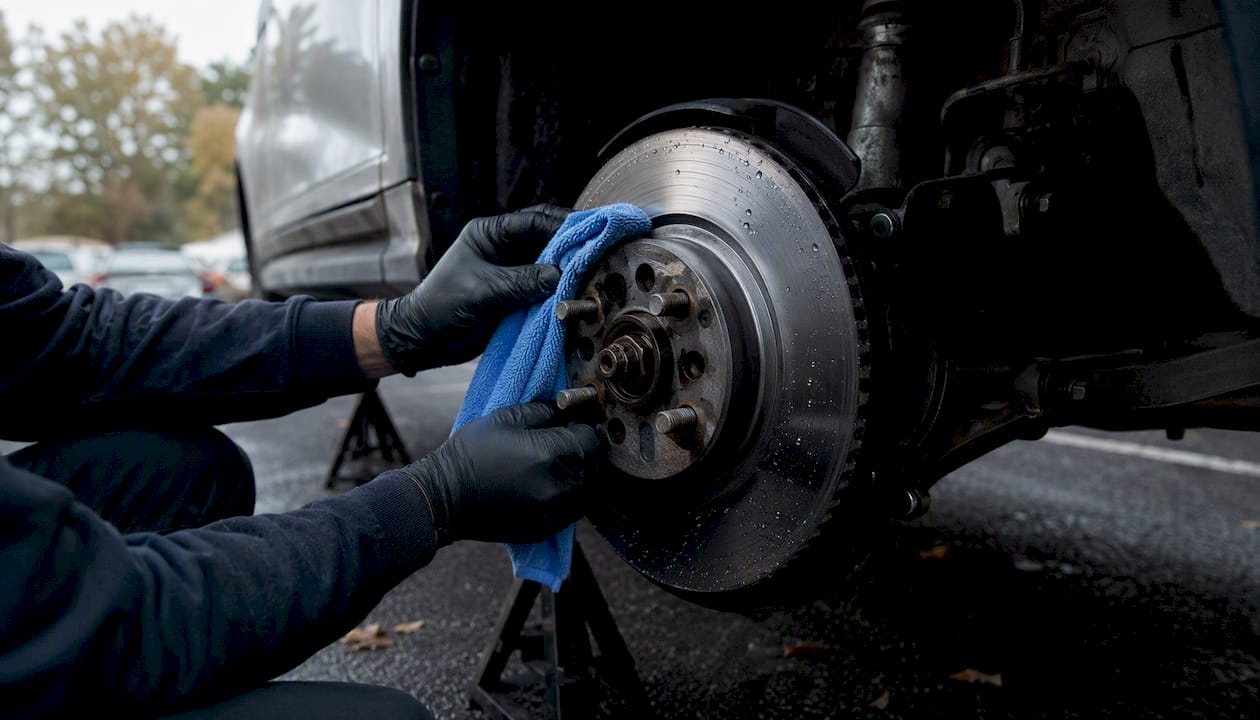
After driving through water, slow to a low speed and apply light, steady brake pressure for several seconds to generate friction heat that evaporates moisture and restores stopping power. Do not wait for brakes to air-dry on their own; active friction-based drying restores bite far faster than passive methods.
Quick safety checklist:
- Check your mirrors and confirm traffic is clear behind you before slowing
- Reduce speed to a low speed on a safe stretch of road
- Apply gentle, steady pedal pressure while maintaining forward motion
- Repeat light brake applications until pedal feel firms up
- Increase following distance until braking feels fully normal, without specifying a numeric range
Key Takeaways
Slowing to a low speed and applying light, steady brake pressure for several seconds is the most reliable way to restore stopping power after driving through water.
| Point | Details |
|---|---|
| Immediate action | Slow to 10–20 mph and apply gentle, steady brake pressure for several seconds to evaporate moisture. |
| Increase following distance | After any water crossing, leave extra space ahead — first stops may need more pedal force than usual. |
| Know when to stop | Persistent soft pedal, pulling, grinding, or smoke after repeated drying attempts means stop and call for help. |
| Inspect after exposure | Check for rotor rust, unusual noise, and reduced pedal firmness; schedule a professional inspection if symptoms last beyond 48 hours. |
| Aaafrictions HydroAdaptive kits | Ceramic pads and rotors engineered to manage moisture at the friction interface, reducing recovery time in wet conditions. |
Table of Contents
- How to dry wet brakes while you’re still driving
- Why wet brakes feel weak or pull to one side
- When to stop driving and what to do if brakes don’t recover
- How to reduce wet-brake problems and what to inspect afterward
- Expert insight: heat management and following distance when drying brakes
- Wet-weather brake performance that starts with the hardware
- Sources
How to dry wet brakes while you’re still driving
Official driver handbooks are consistent on this: test your brakes lightly after any water crossing, then dry them by driving slowly and applying them gently. Here is the full procedure.
- Check your mirrors first. Before you slow down, confirm no vehicle is following closely. Unexpected deceleration on a wet road is a rear-end risk.
- Reduce speed to 10–20 mph. Lower speed gives the brake system time to generate heat without overloading the pads or causing a skid.
- Apply light, steady pedal pressure. Hold a slight drag, not a hard stop. The goal is controlled friction that heats the rotor-pad interface and evaporates the water film.
- Hold for the recommended duration. Use the table below as a practical guide.
- Release and test pedal firmness. If the pedal still feels soft or the car pulls, repeat steps 2–4 once or twice more.
- Gradually return to normal speed only after the pedal feels firm and braking response is consistent.
| Speed | Suggested drag duration |
|---|---|
| 10 mph | several seconds |
| 10–20 mph | ~10 seconds |
| 10–20 mph | ~5 seconds |
Duration guidance adapted from EngineerSkill.blog. Treat these as practical starting points, not hard limits — repeat the cycle if pedal feel has not returned.
The California DMV describes a variation worth knowing: lightly pressing the accelerator and brake pedals at the same time while moving. This creates simultaneous drive force and friction drag, which can speed up the drying process. Use it carefully on a clear, straight road only.
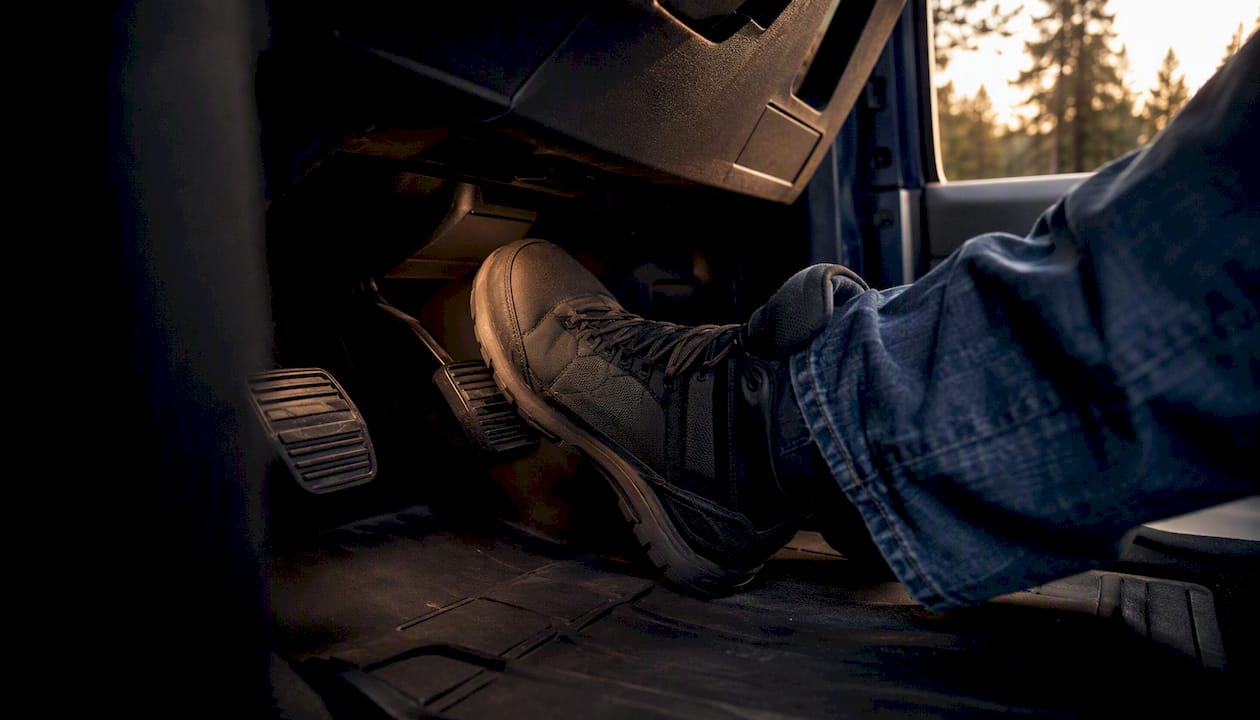
Pro Tip: Before each drying pass, glance at your mirrors and check the road ahead. A distracted moment during a slow brake-drag maneuver is when rear-end incidents happen. Signal your intention to slow if traffic is present.
Why wet brakes feel weak or pull to one side
Water does not compress. When a thin film of it sits between a brake pad and a rotor, it acts as a lubricant instead of allowing the friction surfaces to grip. The result is a pedal that feels normal underfoot but delivers noticeably less stopping force.
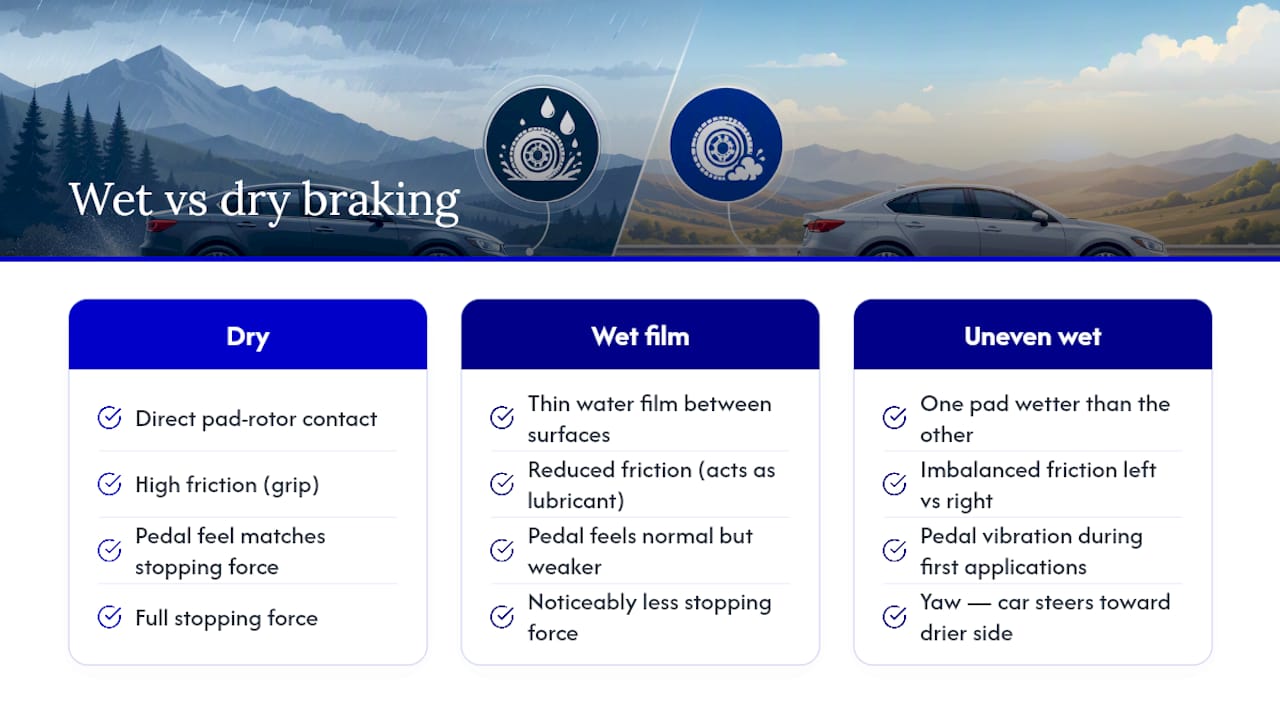
Pulling to one side is a slightly different problem. If one wheel passes through deeper water or one pad gets wetter than its partner, the friction imbalance between left and right creates a yaw force. The drier side grips harder, and the car steers toward it. Vibration through the pedal often follows from uneven pad contact during the first few applications.
Disc brakes and drum brakes respond differently to water exposure. Disc rotors are open to airflow and shed water relatively quickly once the drying technique begins. Drum brakes trap water inside the drum housing, which means they can take longer to recover and may need a few more gentle applications before pedal feel normalizes. If your rear brakes are drums, expect the process to take slightly longer.
When to stop driving and what to do if brakes don’t recover
Most wet-brake situations resolve within a few gentle drying passes. When they do not, the vehicle is telling you something more serious is wrong.
Stop driving immediately if you notice any of these:
- Pedal remains soft or spongy after three or more drying attempts
- The car consistently pulls hard to one side during braking
- Grinding or scraping noise that persists after water exposure
- Smoke or burning smell from a wheel area
- Brake warning light illuminates on the dashboard
If brakes have not recovered and you need to keep moving to reach a safe stopping point, use these short-term alternatives carefully:
- Engine braking: Downshift to a lower gear to slow the vehicle without relying on the brake pedal. This works on both manual and automatic transmissions.
- Reduce speed progressively: Give yourself far more stopping distance than usual and avoid any situation that requires a hard, sudden stop.
- Parking brake as a last resort: Apply it slowly and gradually, never with a sharp pull, to avoid locking a rear wheel and losing directional control.
Once you reach a safe location, pull well off the road, turn on hazard lights, and call roadside assistance. Do not continue driving on brakes that have not responded to the drying method. Avoid hard braking on wet linings at any point during this process; a sudden stop on saturated pads can cause skidding and accelerate lining wear.
How to reduce wet-brake problems and what to inspect afterward
Prevention before the water crossing:
- Slow to a crawl before entering standing water; a steady, controlled entry minimizes splash onto hot components
- If your brakes are very hot from recent hard driving, let them cool before wading through water. Michelin’s wet-road guidance warns that entering water with hot brakes, hubs, or differentials can cause thermal shock, contracting components and potentially drawing water past seals into bearings
- Never enter water at speed; the impact force drives water into every gap in the brake system
Post-drive inspection checklist:
- Listen for grinding, squealing, or scraping during the first few stops after a water crossing
- Check rotors visually for surface rust, scoring, or pitting after the vehicle has cooled
- Test stops at low speed in a safe area until braking feels fully normal
- Check for brake fluid moisture if you suspect water entered the hydraulic system
Schedule a professional inspection if noise, vibration, or reduced stopping power persists for more than 24–48 hours after water exposure. Surface rust on rotors is common and usually clears with normal driving, but deep scoring or persistent noise points to pad or rotor damage that needs a technician’s assessment.
Expert insight: heat management and following distance when drying brakes
Heat management is the principle that ties every step in this guide together. The drying technique works because controlled friction raises rotor temperature enough to evaporate the water film without overheating the pads. Push too hard and you risk glazing the pads; apply too little pressure and the moisture lingers.
Following distance is the other critical variable. After any water crossing, your first one or two brake applications may need noticeably more pedal force to clear the water film and restore normal stopping power. Michelin advises increasing following distance immediately after water exposure for exactly this reason. The gap you leave in front of you is the margin that covers the extra stopping distance those first applications may need.
Pro Tip: After a water crossing, treat the next 30–60 seconds of driving as a calibration window. Increase your following distance, perform one or two gentle test stops, and confirm pedal feel before returning to normal traffic speed.
Community driving resources and DMV permit test guidance consistently reinforce the same consensus: slow to a moderate low speed, check mirrors, and test for restored pedal firmness before resuming normal driving. That consensus across official handbooks, safety experts, and experienced drivers is not coincidence. It reflects what actually works.
A practical perspective on conservative driving choices
When brakes feel unreliable, the instinct to push through and get home quickly is understandable. Resist it. The light-drag technique works in the vast majority of wet-brake situations, but it only works if you give it the space, the speed, and the patience it requires. A driver who slows down, checks mirrors, and runs two or three careful drying passes is making the right call every time.
If the pedal does not firm up, stopping is not failure. It is the correct decision. No destination is worth driving on brakes you cannot trust.
Wet-weather brake performance that starts with the hardware
Technique matters, but the brake components themselves set the ceiling on how well any method works. Aaafrictions engineers its brake pads and rotors around HydroAdaptive ceramic technology, a patented formulation designed to clear moisture rapidly and maintain a consistent friction profile across rain, humidity, and cold. Unlike standard pads that rely entirely on heat recovery, HydroAdaptive materials are built to manage the water film at the pad-rotor interface from the first contact.

For drivers who cross wet roads regularly, or who live in climates where water crossings and heavy rain are routine, the right hardware reduces how often the drying technique is needed in the first place. Aaafrictions’s wet-weather brake pads and kits are available for a wide range of vehicles through its direct-to-consumer store. You can also explore the full HydroAdaptive technology to see how the friction formulation is engineered for exactly these conditions. Disclosure: Aaafrictions is the publisher of this article and sells the products referenced above.
Sources
- Wet Brakes – Manitoba Driver’s Handbook
- Section 8: Safe Driving – California DMV
- Driving tips – Driving on wet roads – Michelin
- Engineerskill
- What should I do if my brake lining gets wet? – Blog – Best Auto Parts